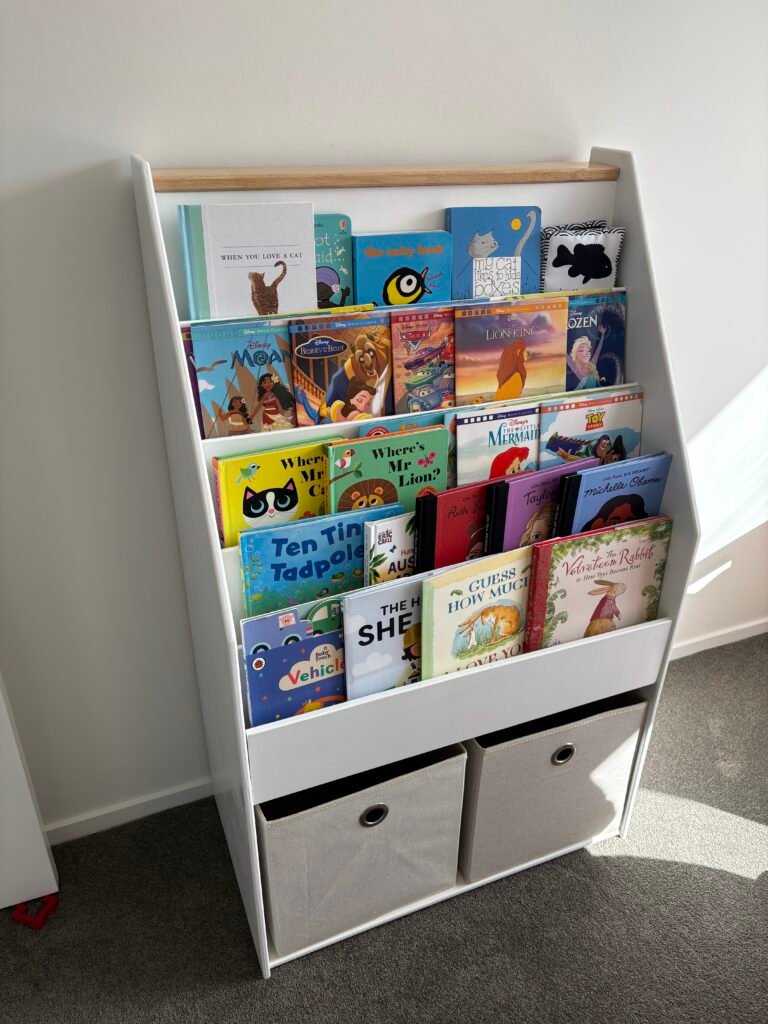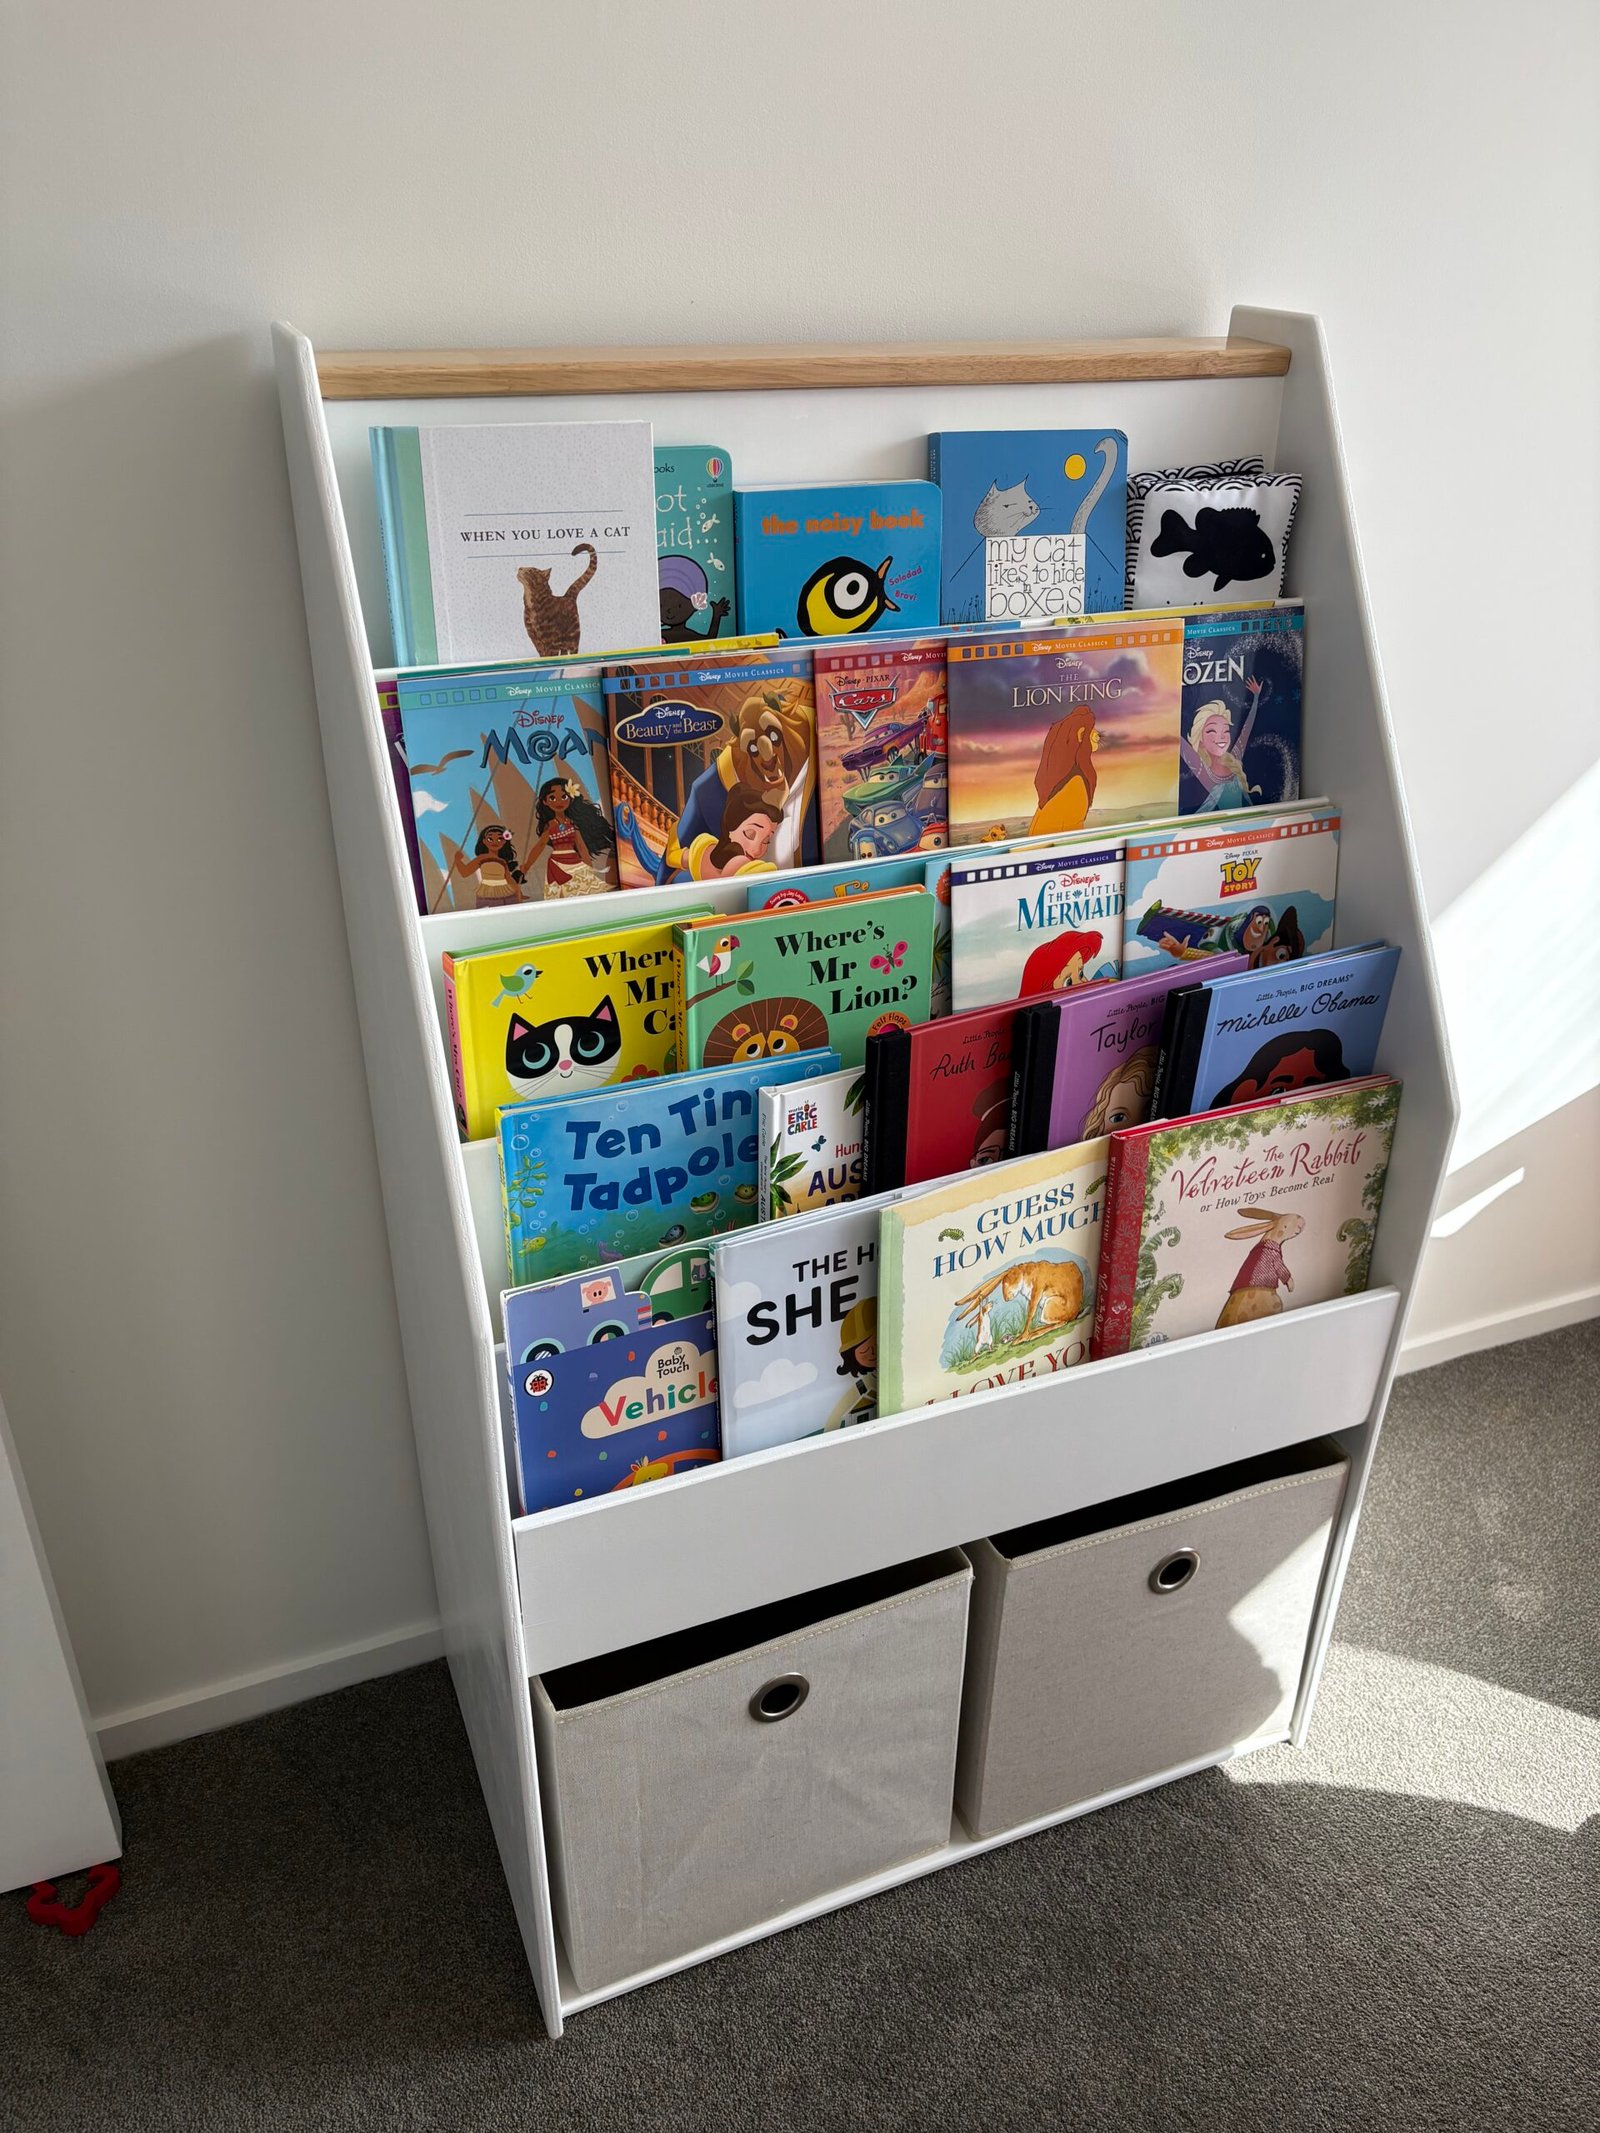
When we found out we were expecting our daughter, I started thinking about little things I could make for her before she arrived. My wife and I both wanted a bookcase to have in her room and we couldn’t find anything in the style we wanted to fit the space. This was the perfect excuse for another project, but also it was so awesome to create something both practical and personal – something that wasn’t just another piece of furniture, but something I’d made myself that she could grow up with.
Planning and Designing
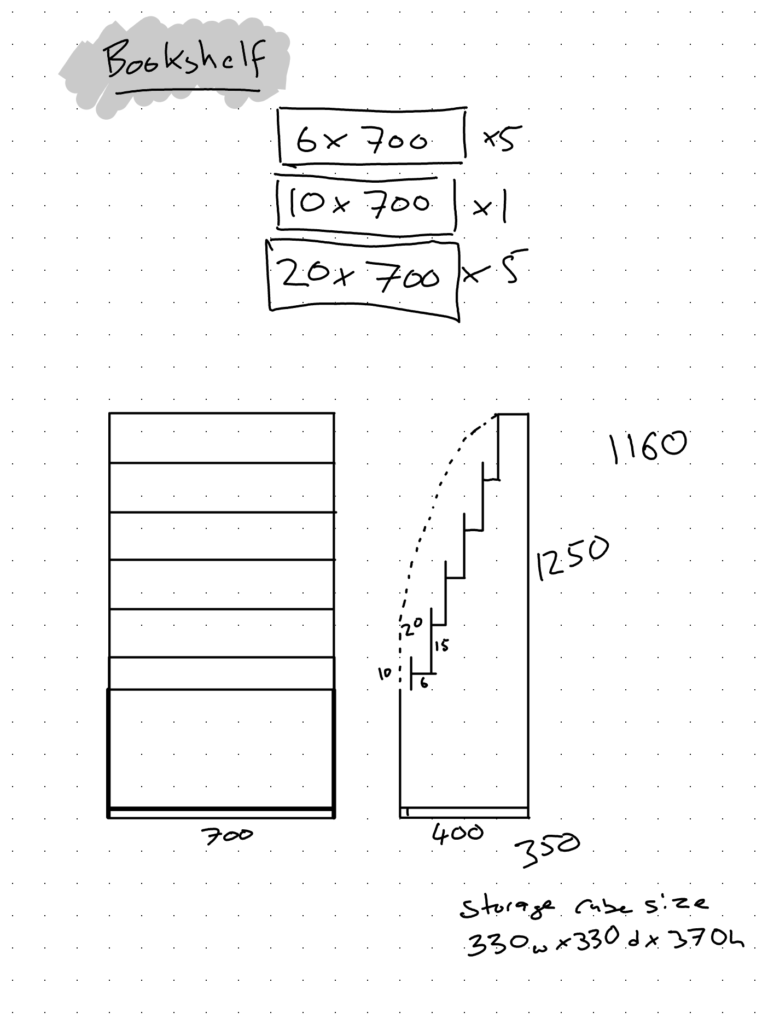
I started by sketching out a few ideas, thinking about both the look I wanted and how the bookcase would work in her room. I wanted something relatively simple, with clean lines and a neutral finish that would fit in with the rest of the nursery furniture without looking out of place as she got older.
The dimensions were probably the most important part of the planning. I measured the available wall space and worked through the height, width and depth to make sure it would fit comfortably. I wanted it tall enough to provide plenty of storage, but with the lower shelves accessible for her once she was old enough to choose her own books.
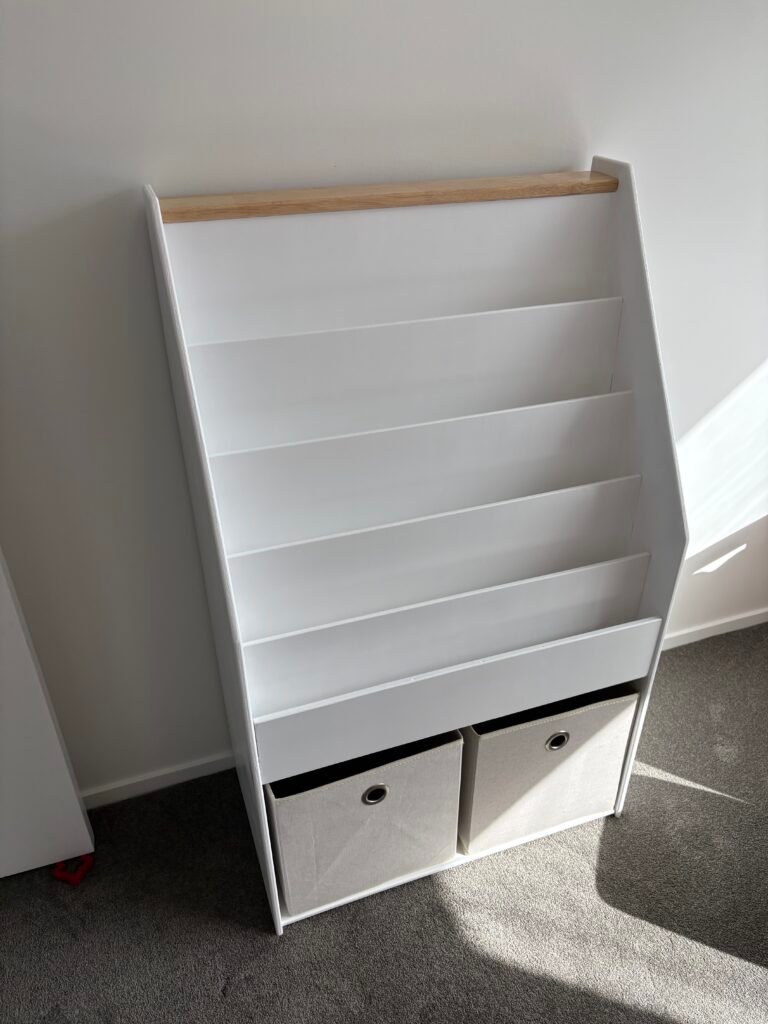
I also wanted to make use of the space underneath the main shelving, creating an additional area for storing books, toys or whatever else inevitably finds its way into a toddler’s room. For this I found some existing cube storage boxes from our local hardware store and designed it around these.
Once I was happy with the design and measurements, I worked out the individual timber pieces I would need and how everything would fit together.
Cutting and Preparing the Timber
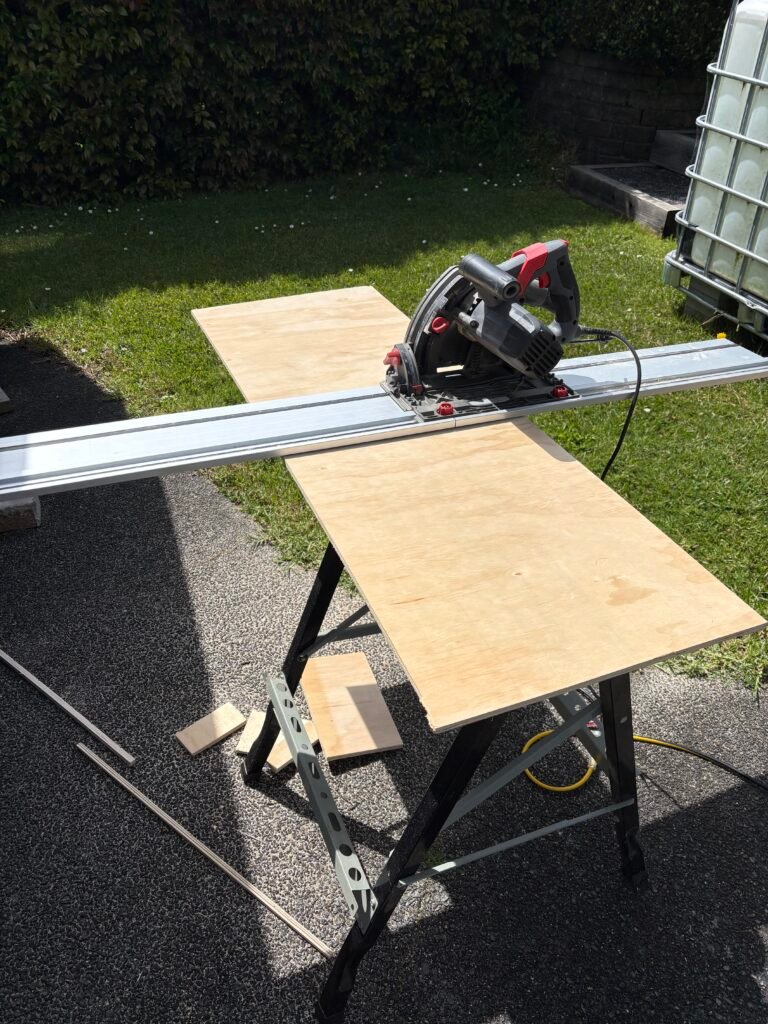
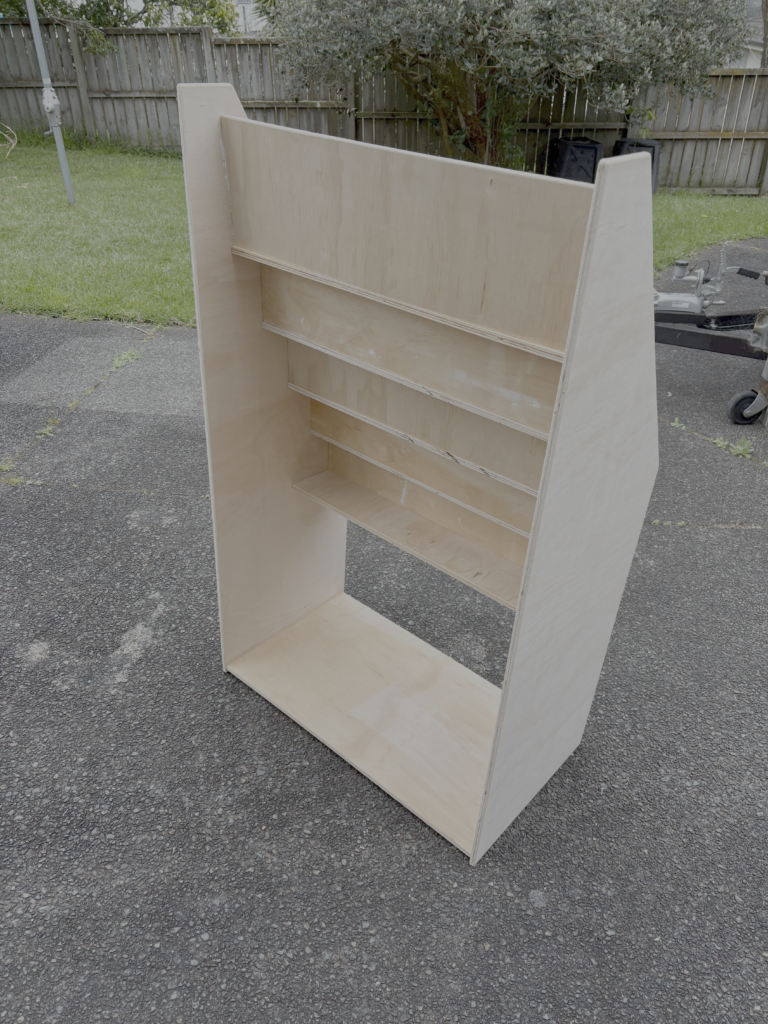
With the design finalised, it was time to get into the actual building. I gathered the timber, transferred the measurements and marked out each piece before making the cuts.
I took my time with this part, checking the measurements as I went. It’s one of those jobs where a small mistake early on can create a lot more work later, particularly when you’re trying to get shelves and frames sitting square and flush.
After cutting everything to size, I checked the pieces against one another and gave the edges a quick pass over with the router to smooth out and remove any roughness or imperfections. Getting everything prepared properly made the assembly process much easier.
Joinery and Assembly
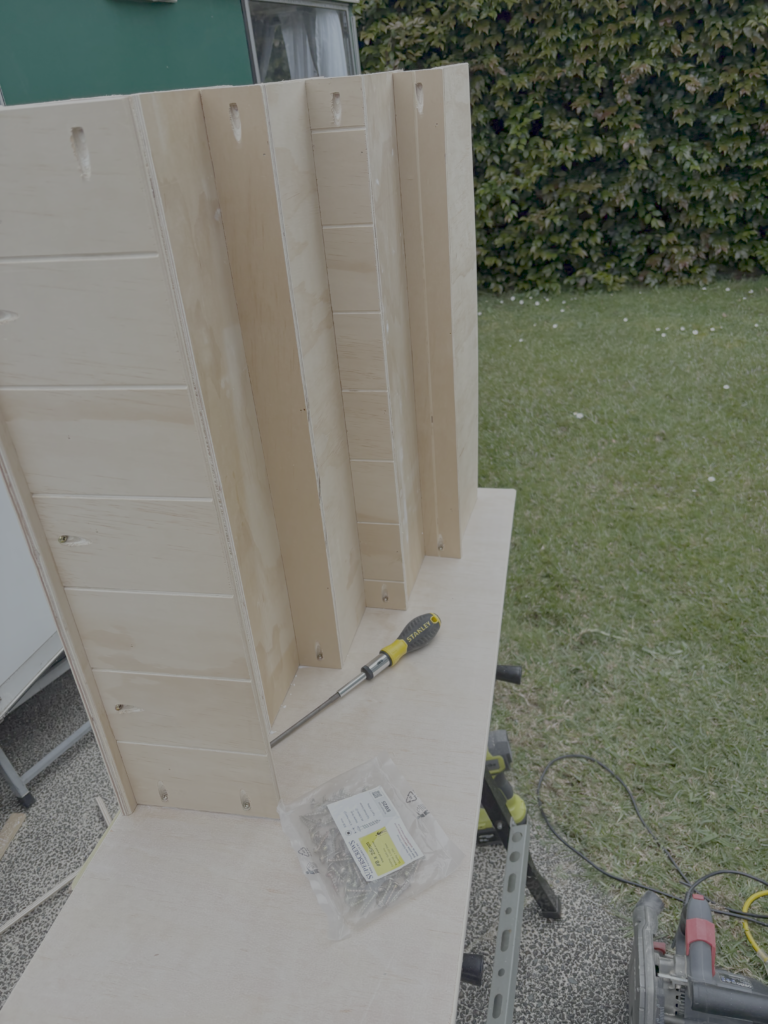
For the joinery, I decided to use pocket holes. They’re a great option for this sort of project, allowing you to create strong joints while keeping most of the fixings hidden and maintaining a clean finish.
I drilled the pocket holes into the relevant pieces before starting to put everything together. It felt like I had built my own little flatpack from IKEA that I got to put together.
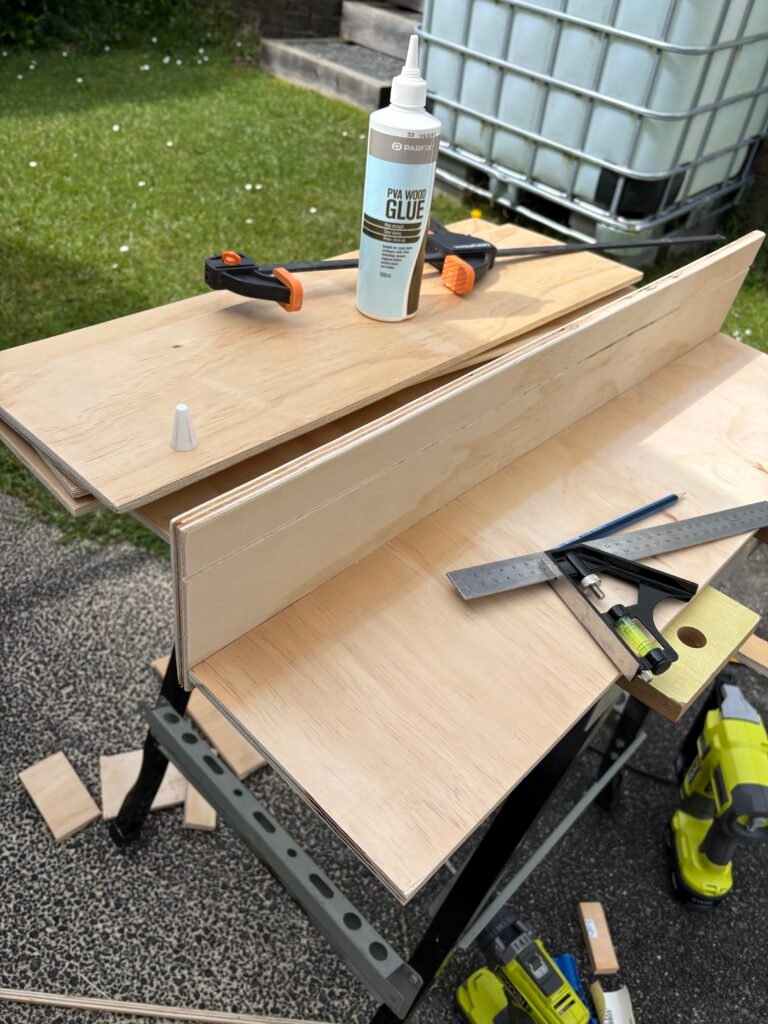
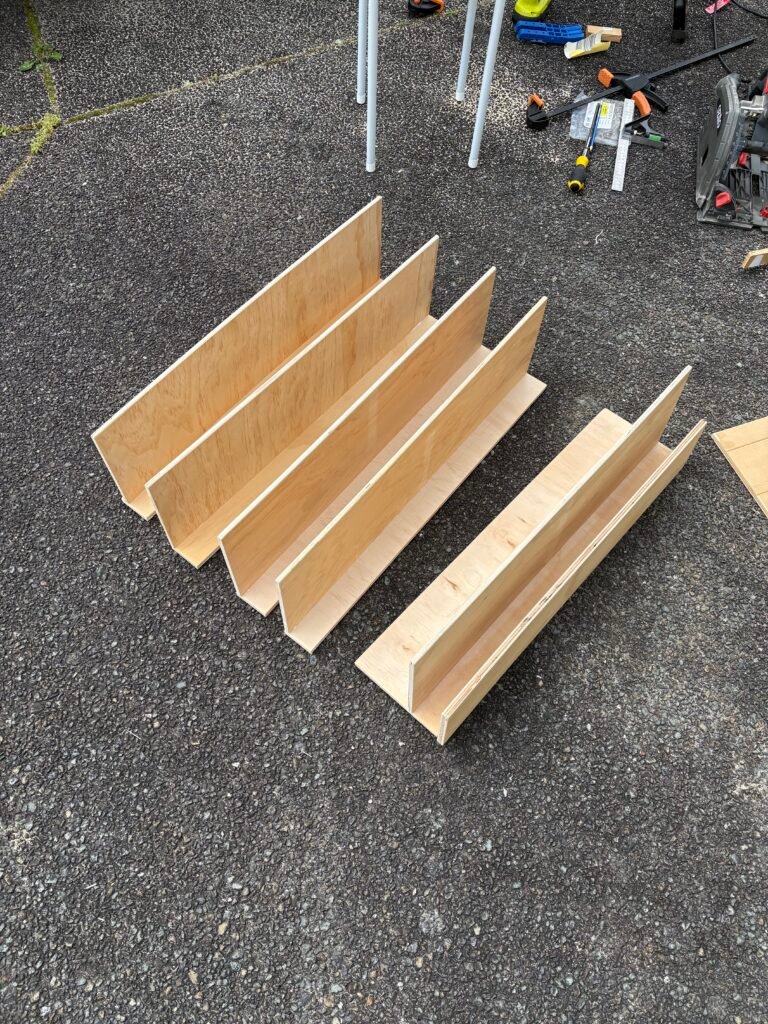
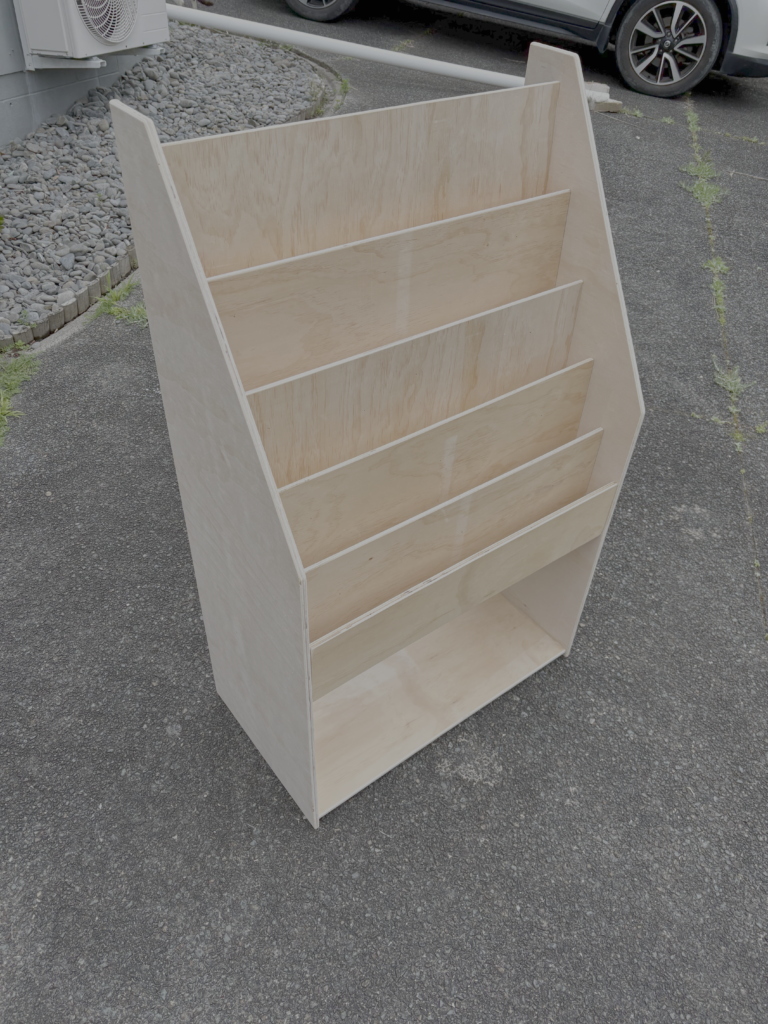
Once I was happy with the pieces, I started assembling the bookcase, working through each section and securing the joints with wood glue and screws. It was quite satisfying watching the individual pieces gradually come together into something that actually resembled the finished design.
I also took the opportunity to check the alignment as I went, making sure the shelves were level and the overall structure was straight and sturdy.
Sanding, Painting and Finishing
With the assembly complete, I moved on to what was probably the most time-consuming part of the project: getting the finish right.
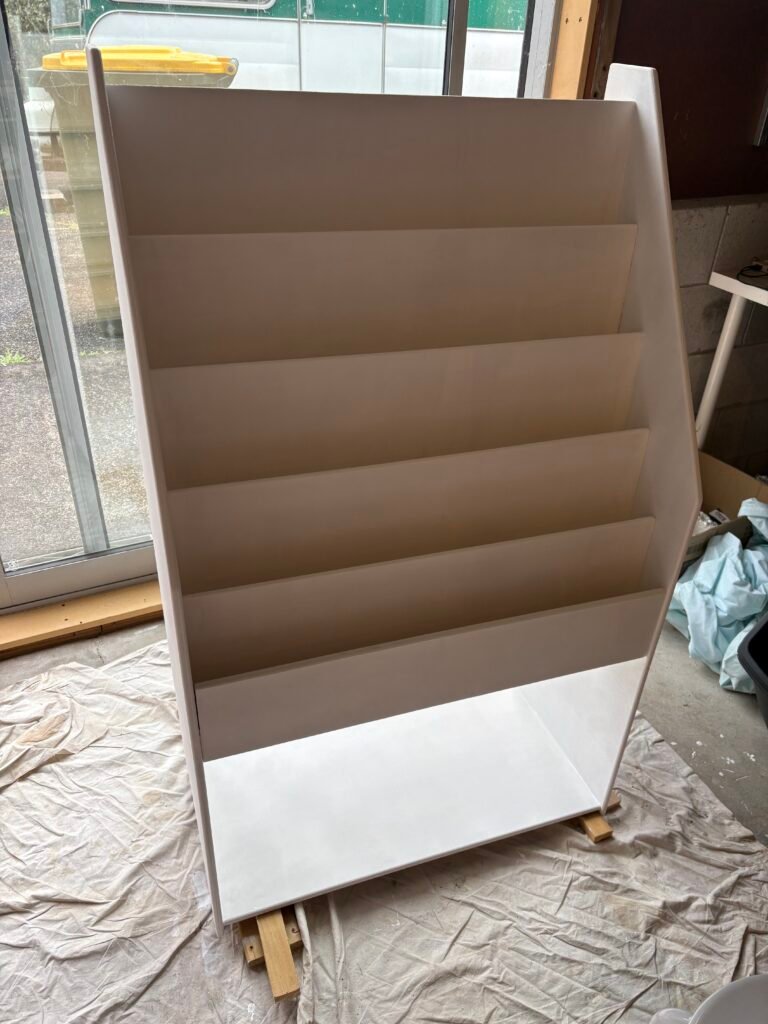
I went over the entire bookcase with sandpaper, paying particular attention to the edges, corners and joins. I wanted everything to feel smooth to the touch, with no rough edges or visible imperfections.
For the paint, I chose white so that it would suit any room and complement all the other pieces of furniture we already have in her room. I applied several coats and lightly sanded between coats where needed to achieve a more even finish.
Seeing the finished bookcase come together was a great feeling. It was a fairly simple design, but I was really happy with how it turned out.
Finishing Just in Time
There was one small detail I hadn’t quite planned for – our daughter decided to arrive two weeks earlier than expected!
Thankfully, I managed to get the bookcase finished and into her room just four days before she was born.
The timing couldn’t have been much closer, but it was nice knowing that something I’d spent time designing and building was sitting there ready and waiting for her arrival.
Looking back, it’s a project I’m particularly glad I made the time for. What started as a simple idea to build some furniture for the nursery became something a little more meaningful.
As she gets older, the bookcase will hopefully fill up with all sorts of books, from the stories we read to her now to the ones she’ll eventually pick out herself. And while she probably won’t appreciate the effort that went into building it just yet, it’s nice to think she’ll have something in her room that I made specifically for her.