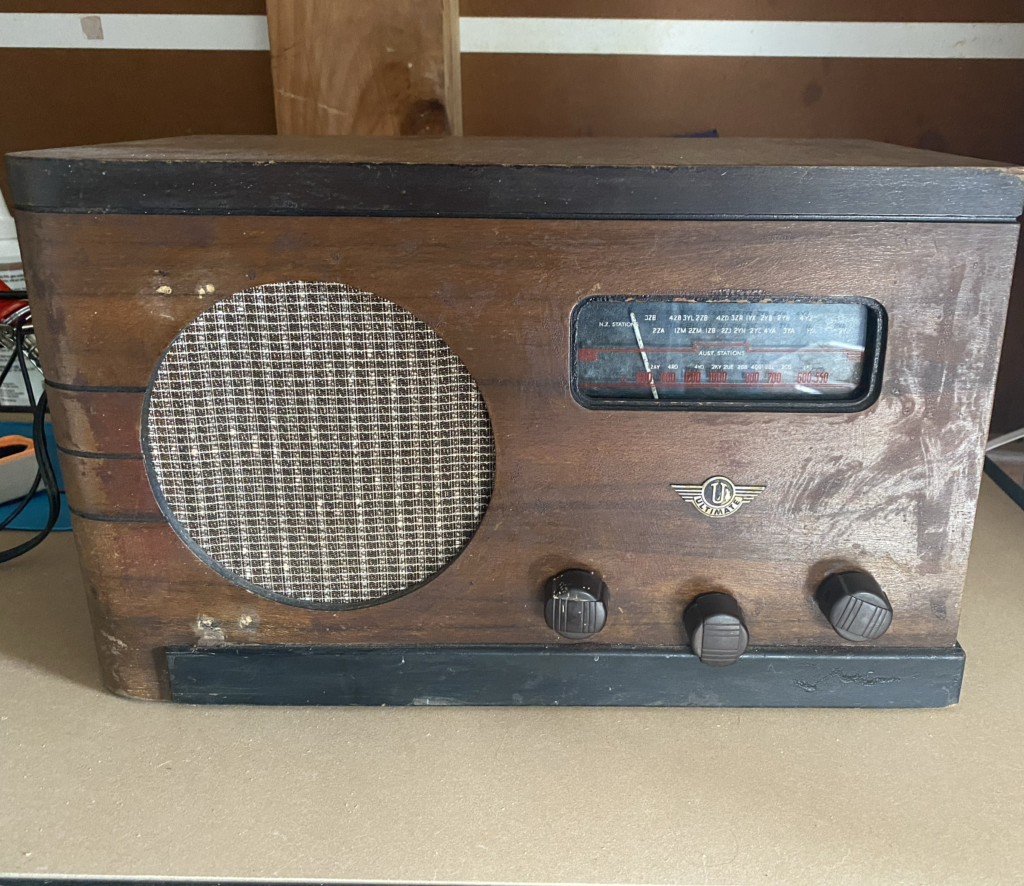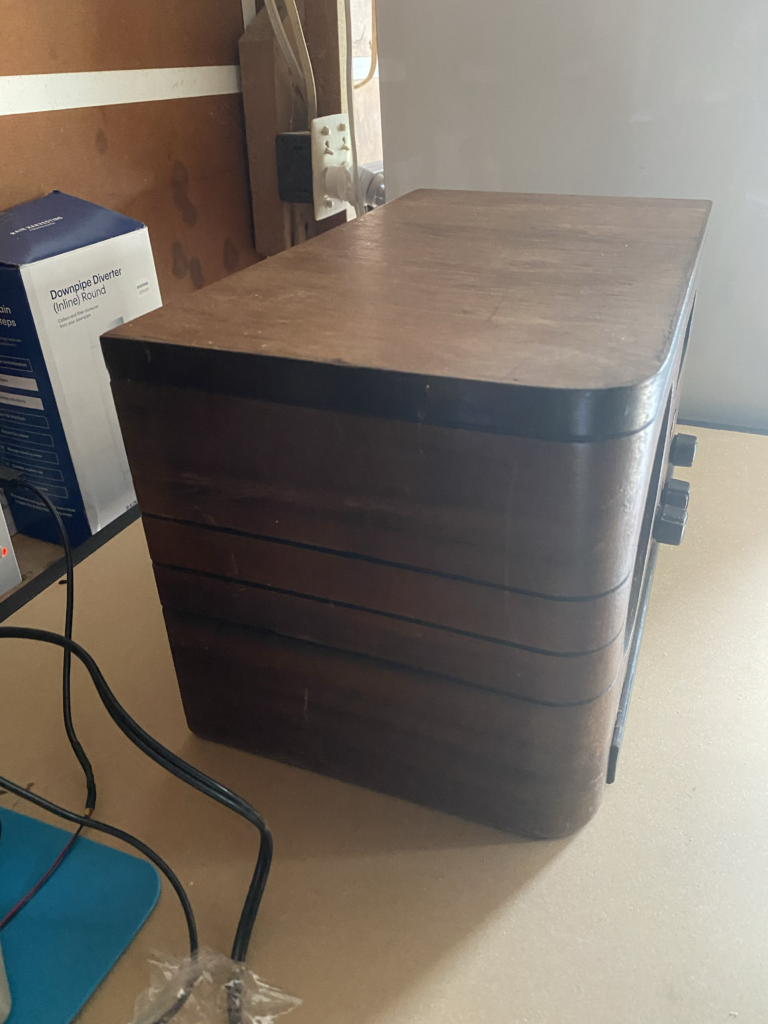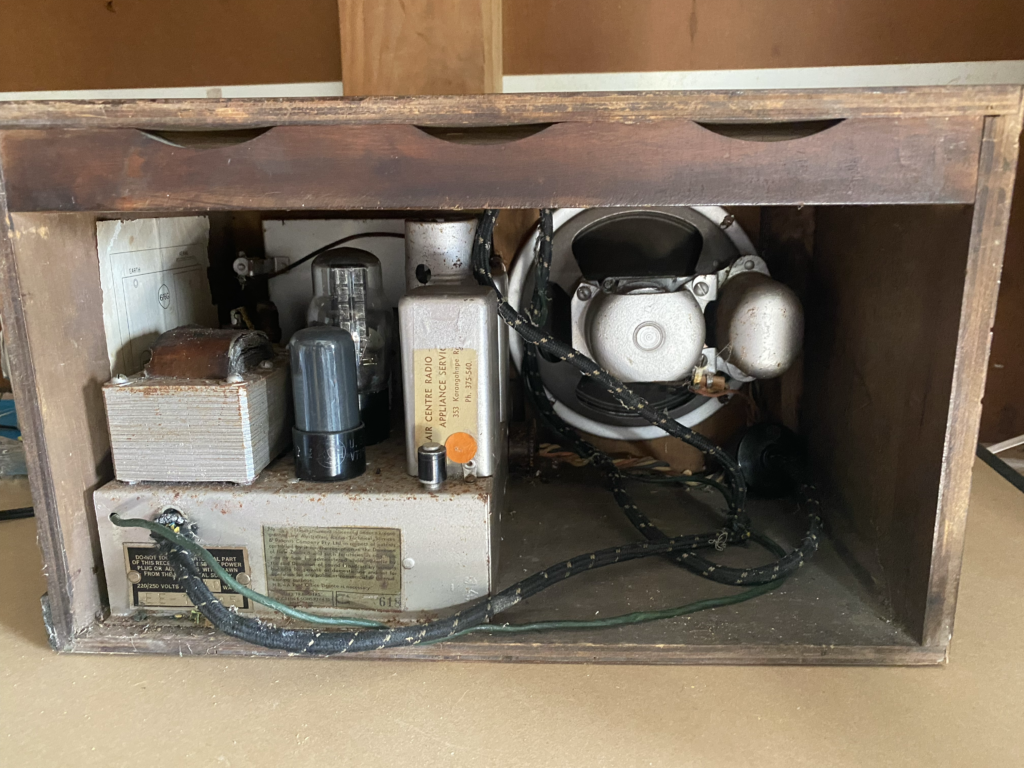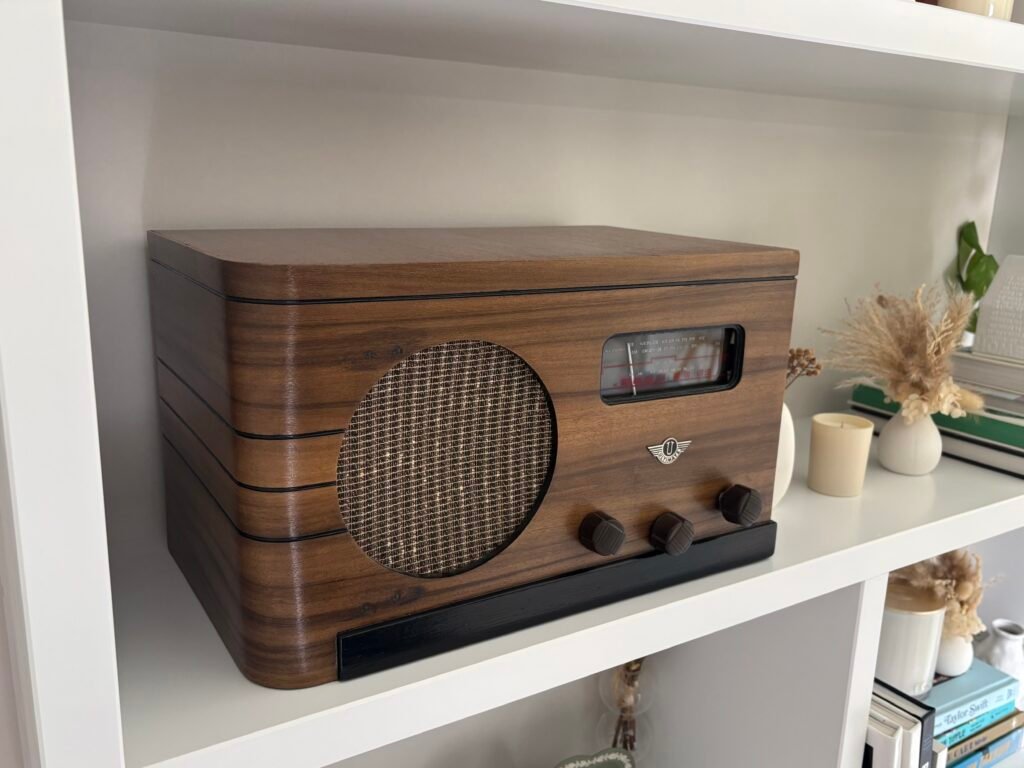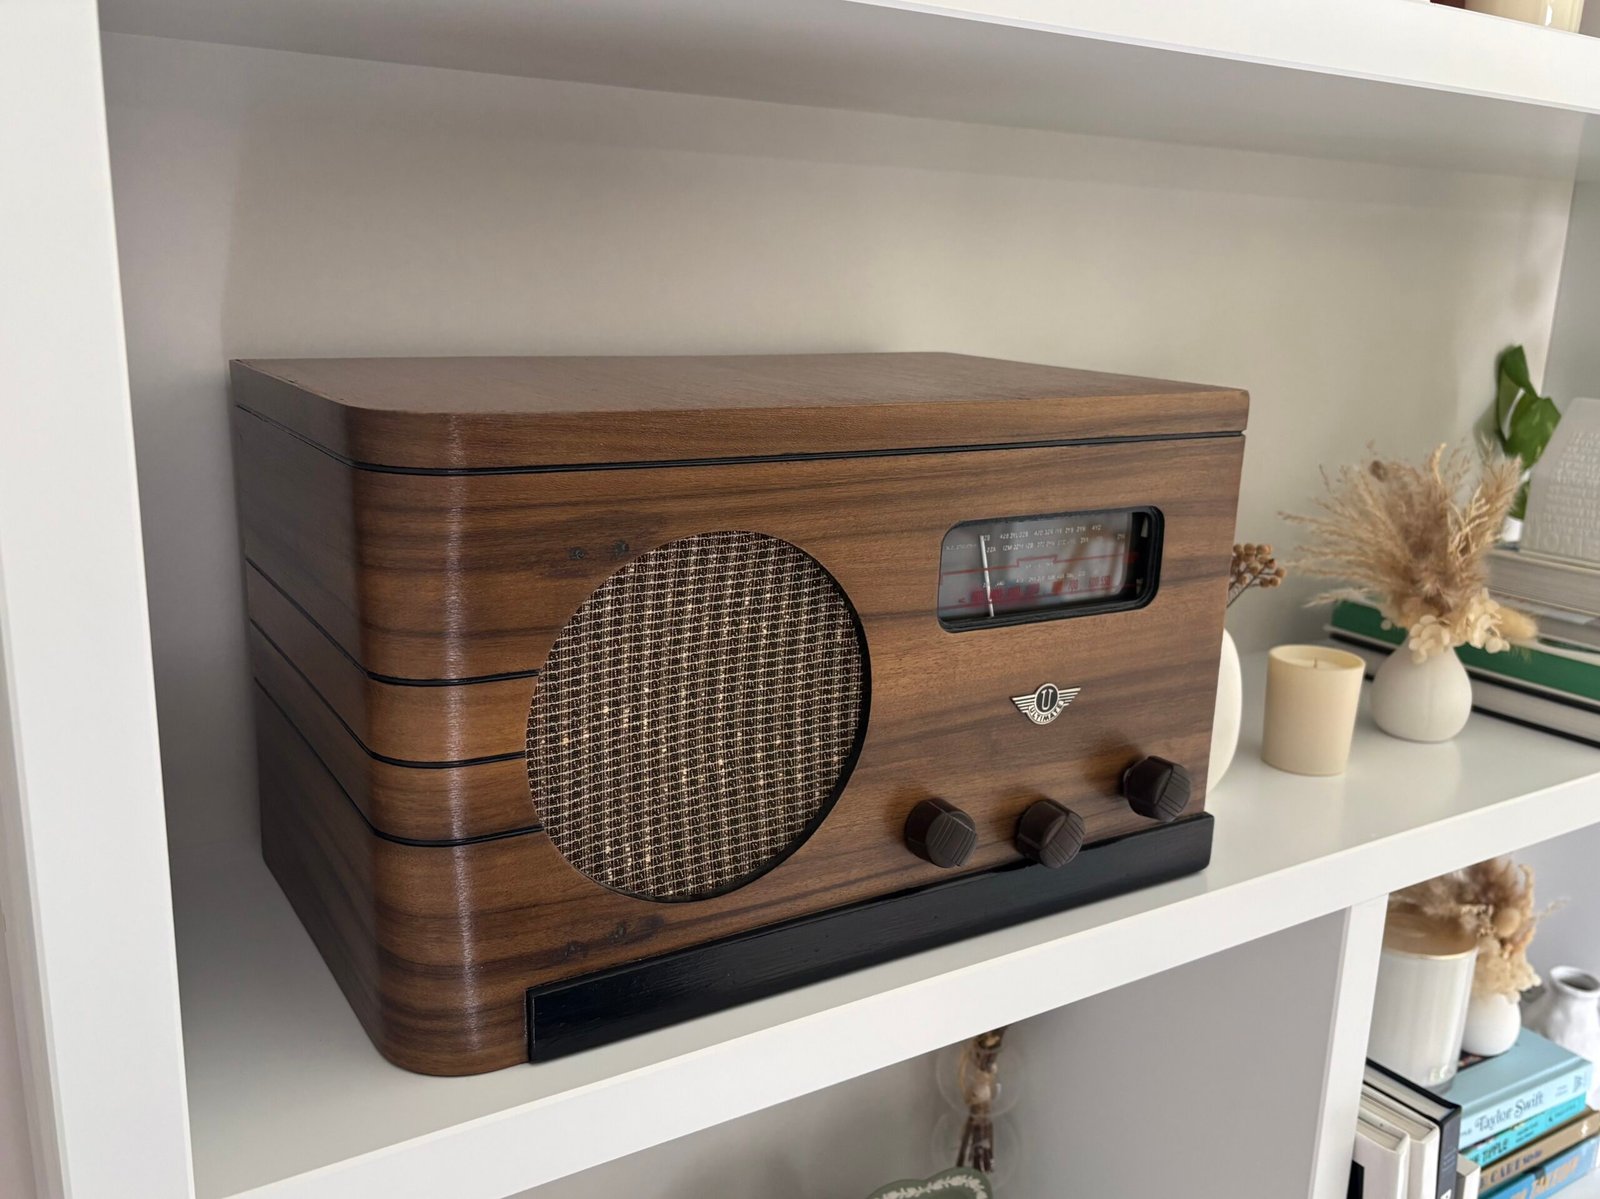
While helping my wife’s pop move, we came across an old, dusty radio tucked away in a corner. The wooden cabinet had seen better days, with plenty of scratches and bumps, while the internal components were a bit rusty and broken.
I love a good project and the opportunity to restore something like this was pretty exciting. Rather than let it continue collecting dust, I thought it would be a fun challenge to bring it back to life and make it functional again.
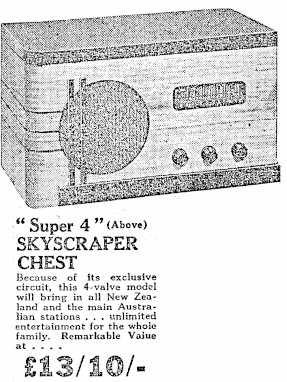
After a bit of research, I believe it’s an Ultimate EE model from around 1940. The identification isn’t certain, but it appears to share its design and chassis with the Skyscraper EE and Rolls EE models produced by Radio (1936) Ltd, a New Zealand radio manufacturer.
These weren’t just decorative pieces of furniture. The EE was a four-valve radio designed to receive traditional AM broadcast stations. Inside the model we had, the radio still had its original vacuum tubes (or valves) which receive radio signals, amplify the sound and drive the speaker. Its pretty wild to think that this was modern technology at some stage and was built for an era when the radio was the centrepiece of many family living rooms, bringing news, music and entertainment into the home.
It’s amazing that it was originally made over 80 years ago and still in relatively good condition, plus I think its a cool part of New Zealand’s radio history.
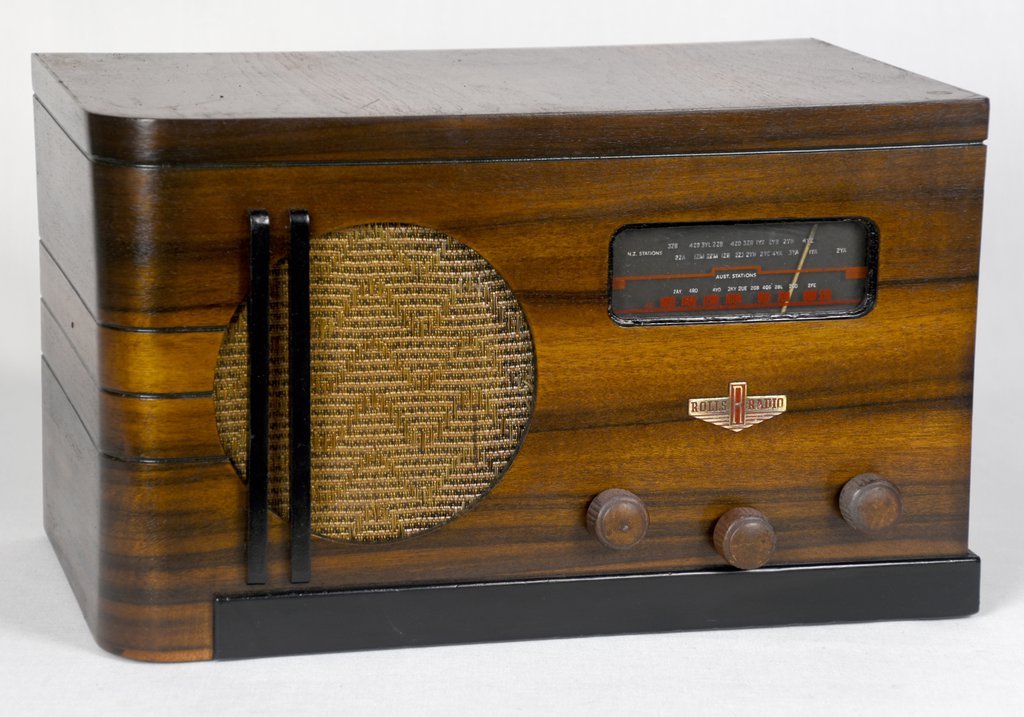
The Restoration Journey
1. Stripping it back
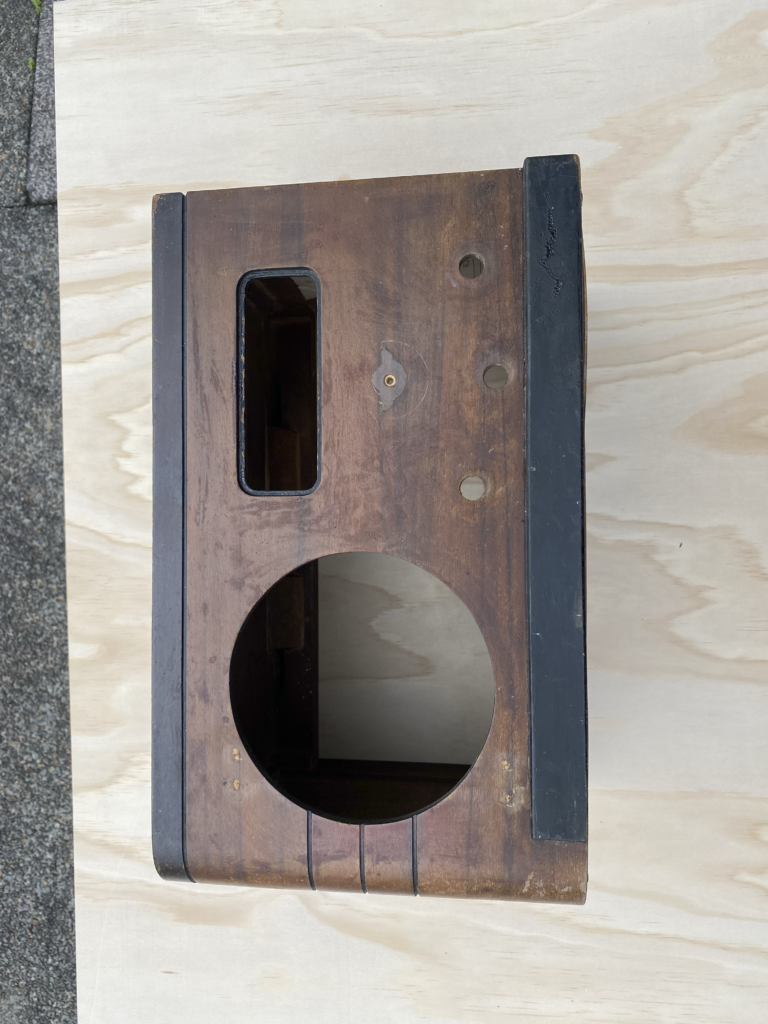
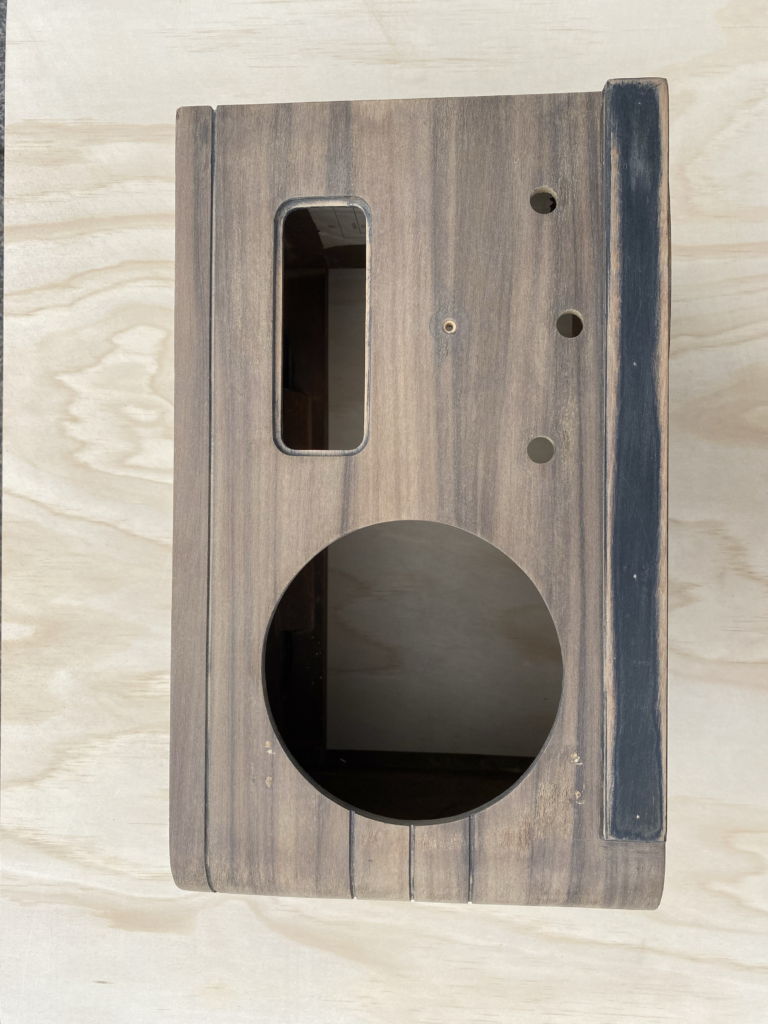
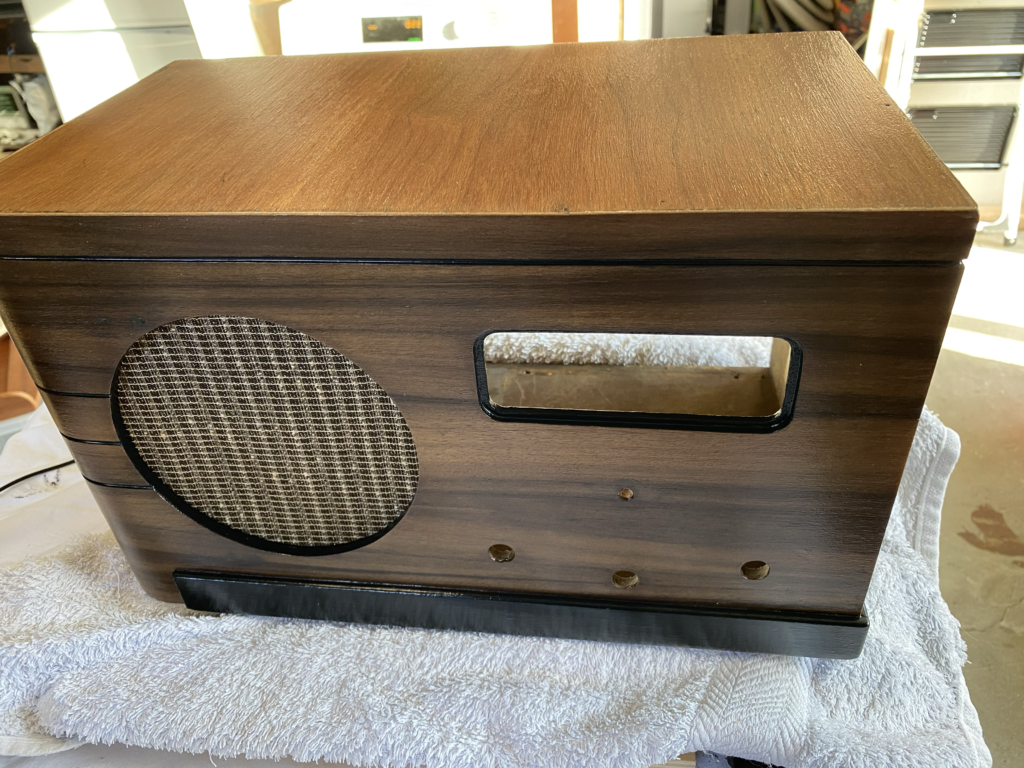
The first job was carefully pulling everything apart. I removed the dials, speaker grille, frequency screen and all internal components so I could focus on restoring the wooden cabinet. I sanded it back, patched up the holes and imperfections with filler, and prepared it for a fresh finish.
2. Painting and varnishing
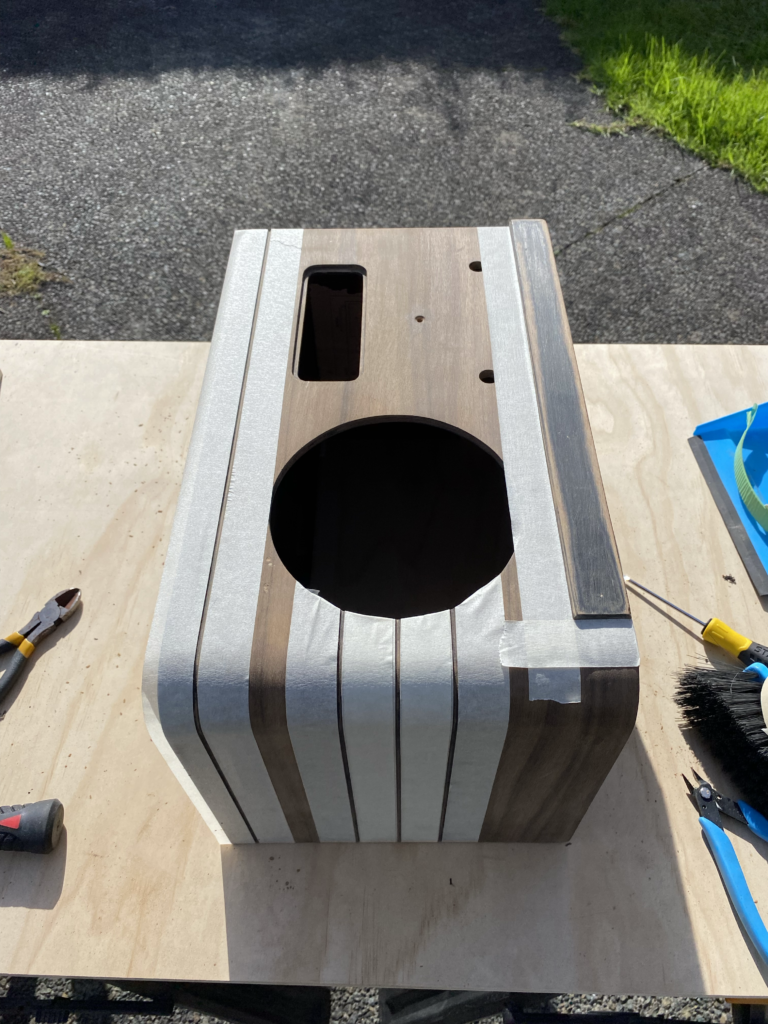
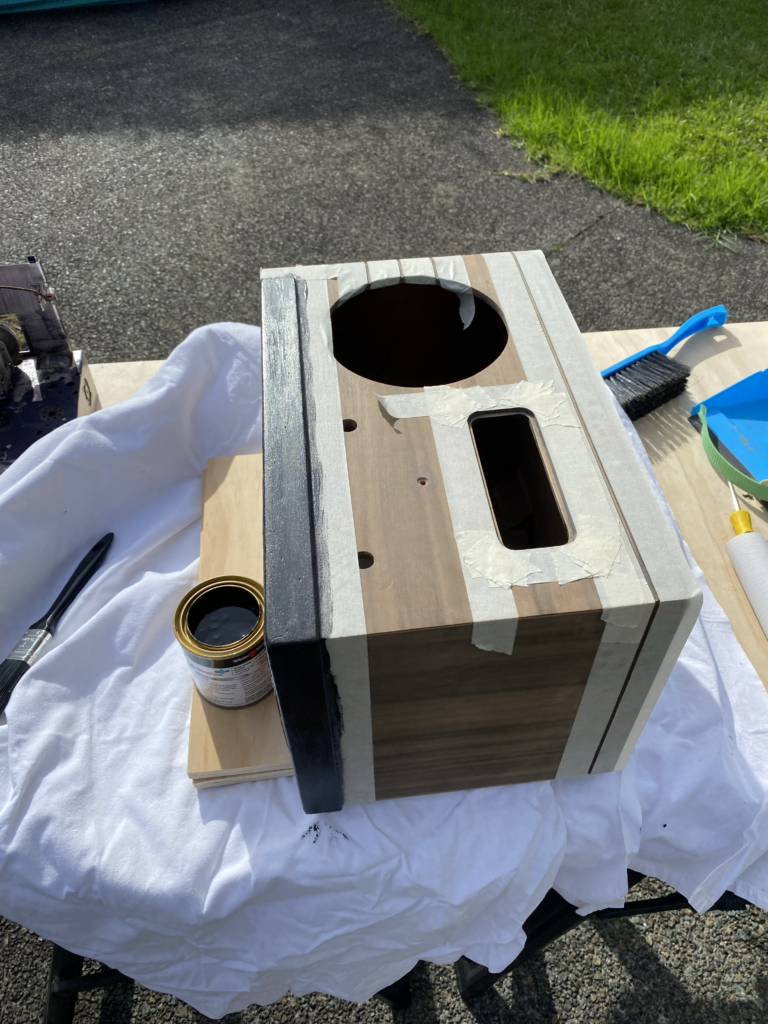
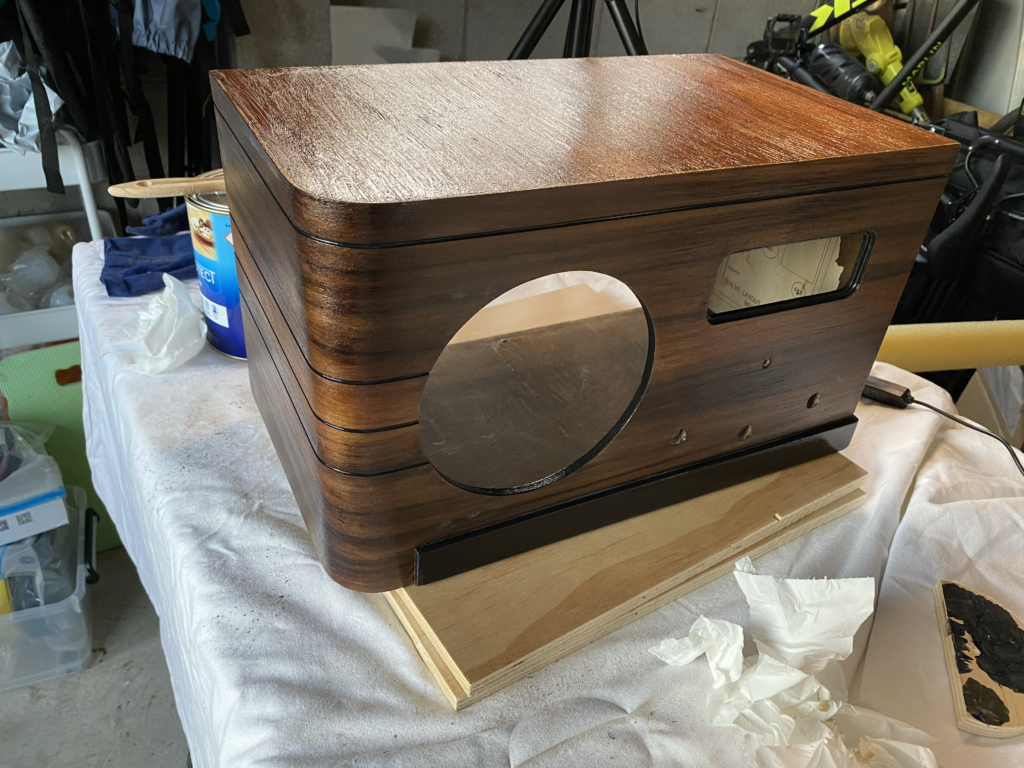
I wanted to retain as much of the original look as possible, so I kept the black sections and stripes while restoring the natural wooden finish of the main cabinet. After a few coats of black paint, I applied varnish to bring out the wood grain and provide some extra protection.
3. Modernising the electronics
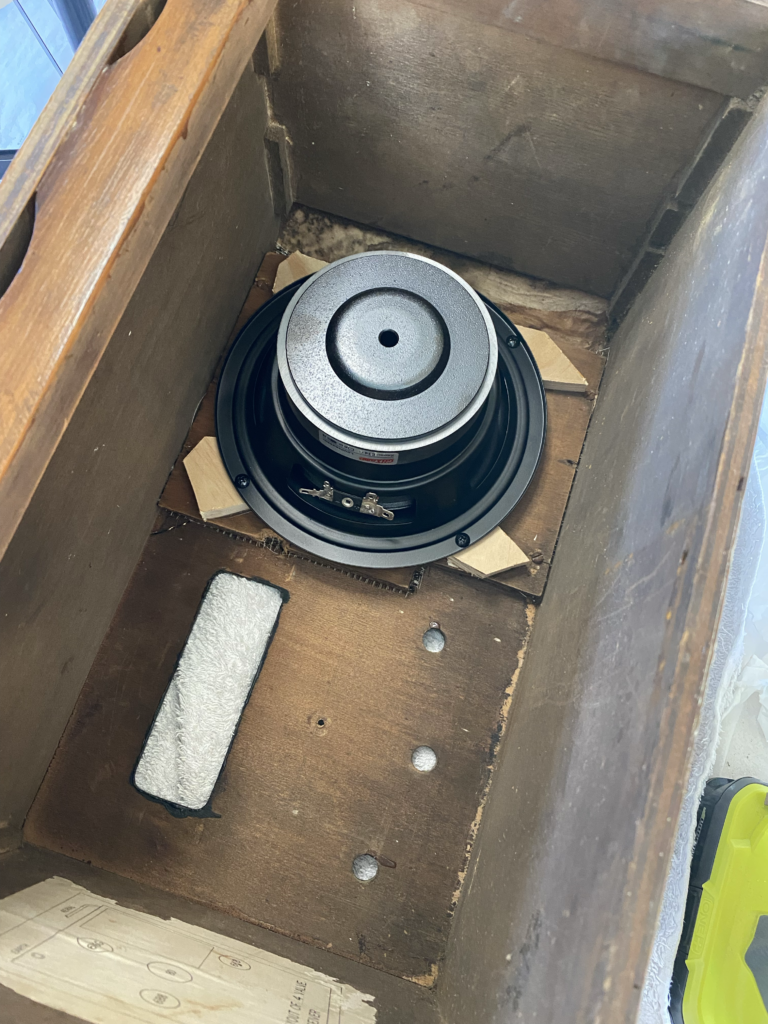
I wanted the radio to be more than just something that looked good on a shelf. I wanted to use it to play music and podcasts too. I replaced the original speaker with a modern one and installed a Bluetooth receiver and amplifier from AliExpress, allowing me to stream wirelessly from my phone or connect through an auxiliary input.
4. Putting it all back together
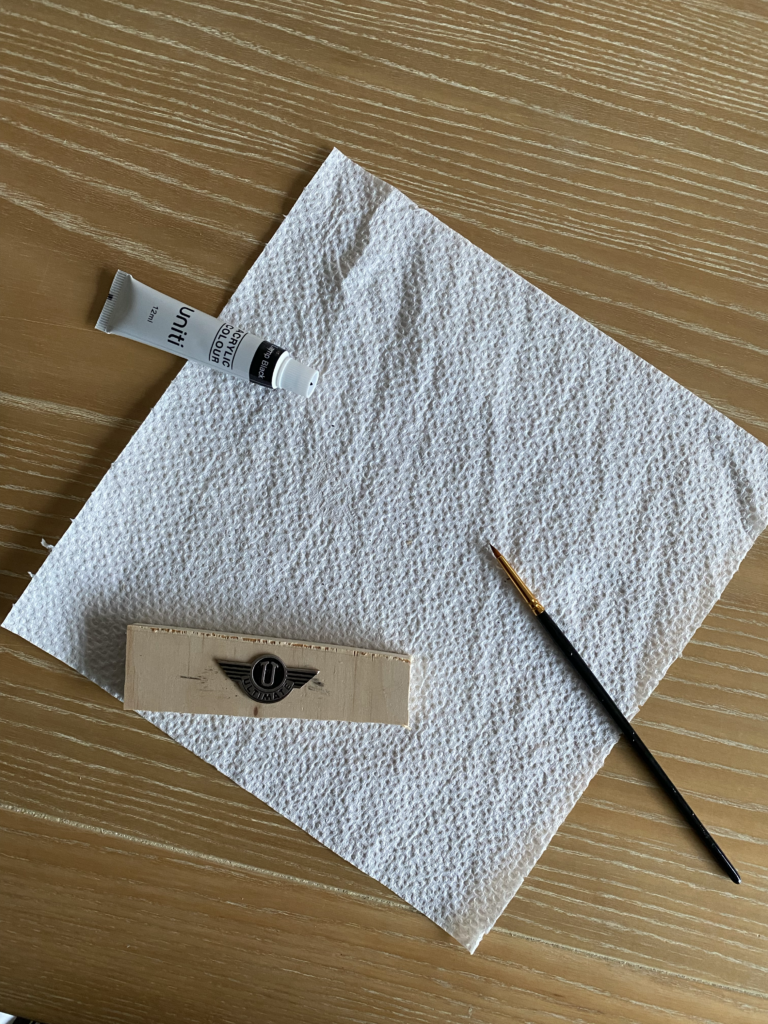
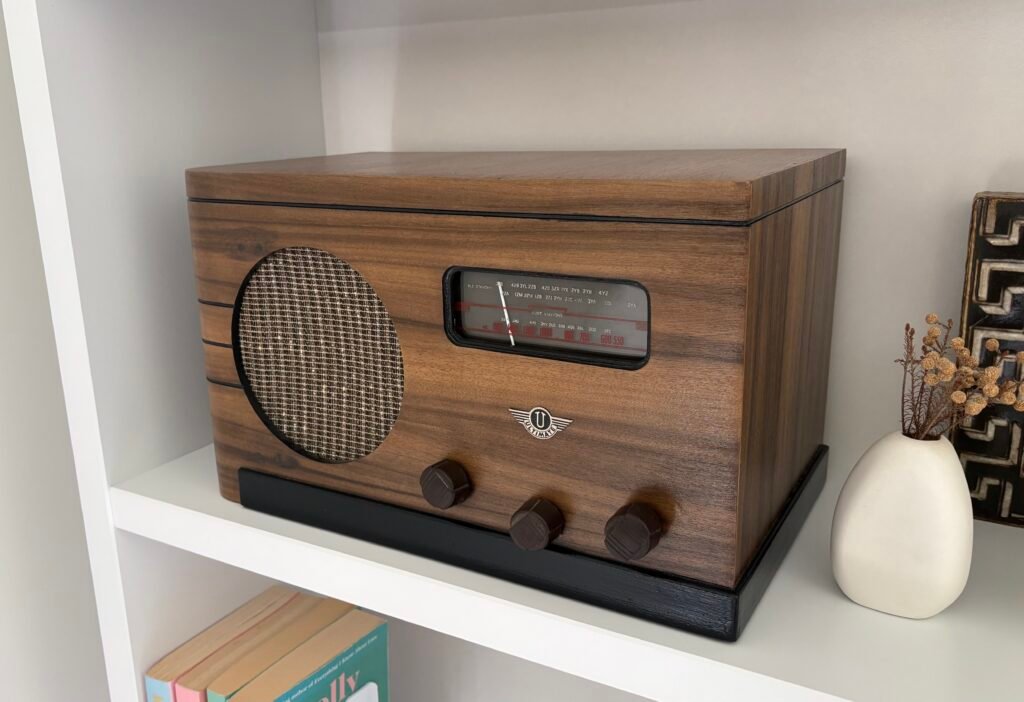
With the cabinet and electronics sorted, it was time for the finishing touches. I installed a new speaker grille, repainted the original Ultimate badge and put everything back together. After a bit of testing, it was finally ready to move it from the workshop into the lounge.
Final thoughts…
Overall I’m pretty stoked with how it turned out and its satisfying taking something old that might otherwise have been thrown away and giving it another purpose. My wife was pretty happy with the result too and we couldn’t wait to find a spot for it on the bookshelf in our lounge. It might look like an 80-year-old radio, but it’s now just as useful for playing a Spotify playlist or podcast.