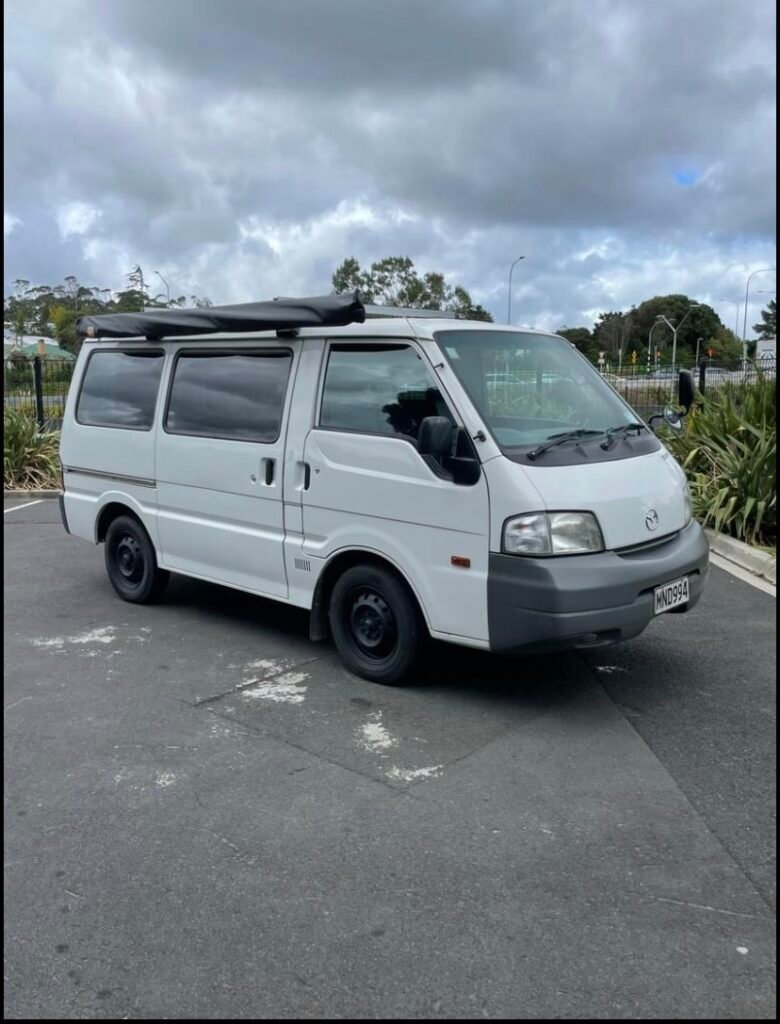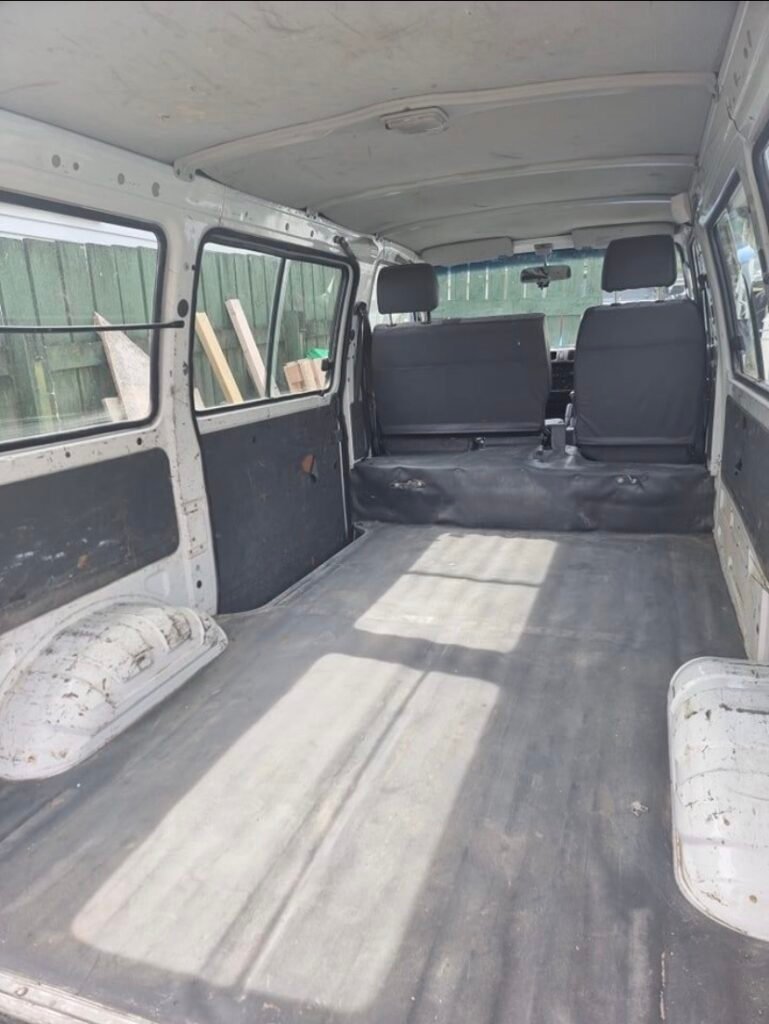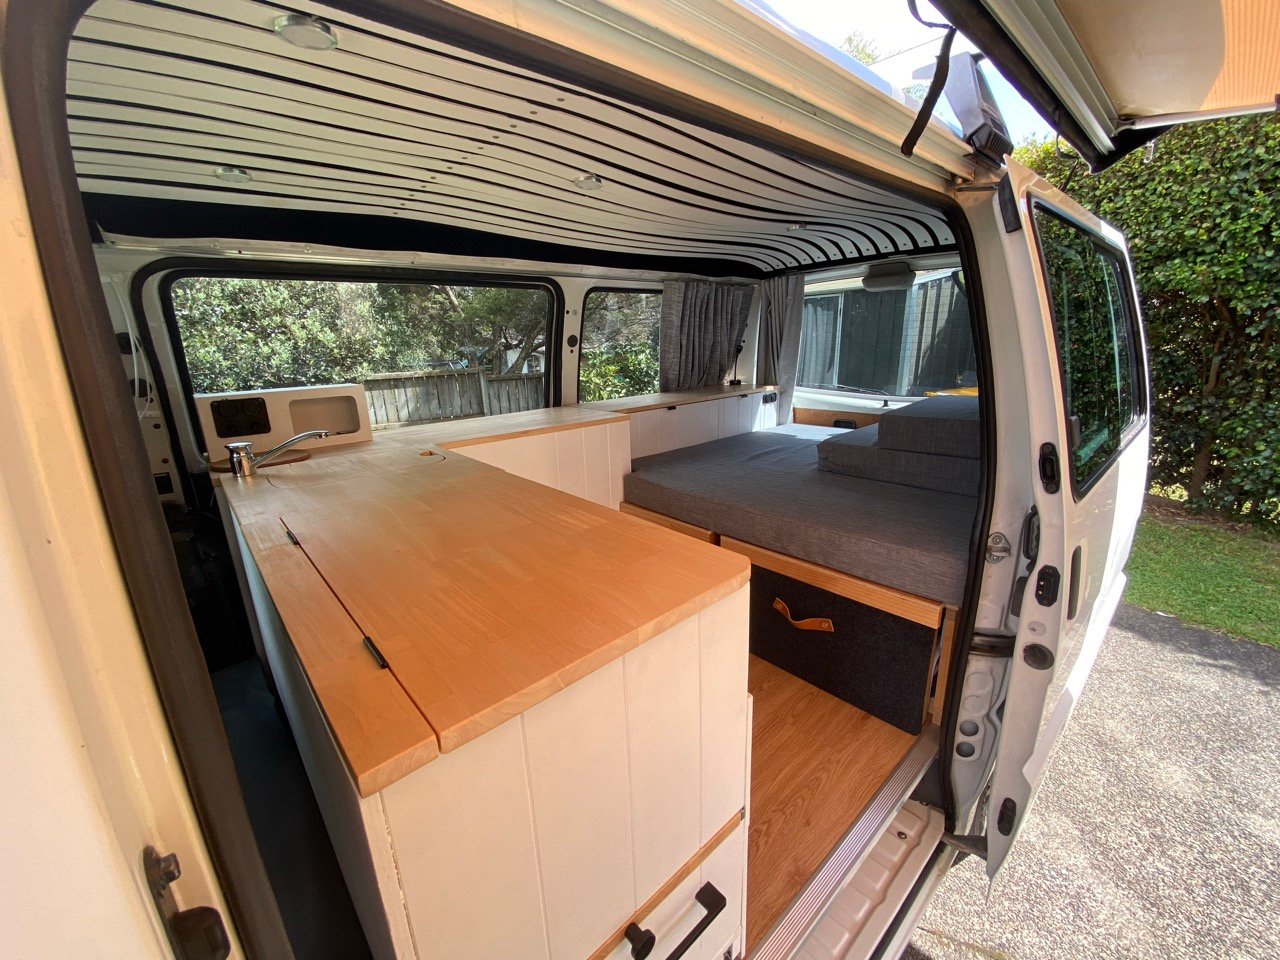
Back in 2022, we decided to take on a project to turn a Mazda Bongo into our own little campervan. We wanted something affordable compact enough to take on weekend adventures, but with everything we needed to be comfortable for longer trips away.
What followed was a fairly involved DIY project, with plenty of measuring, building, problem-solving and a few trips to the hardware store. Here’s a look at how we transformed the van from an empty shell into our little home on wheels.
The Build
1. Planning and design
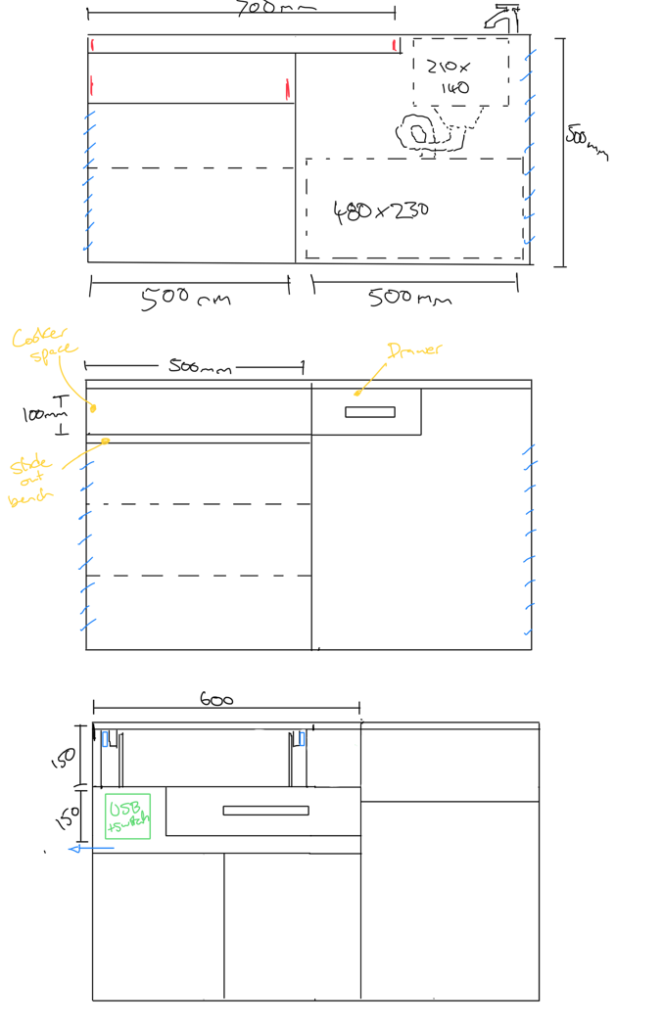
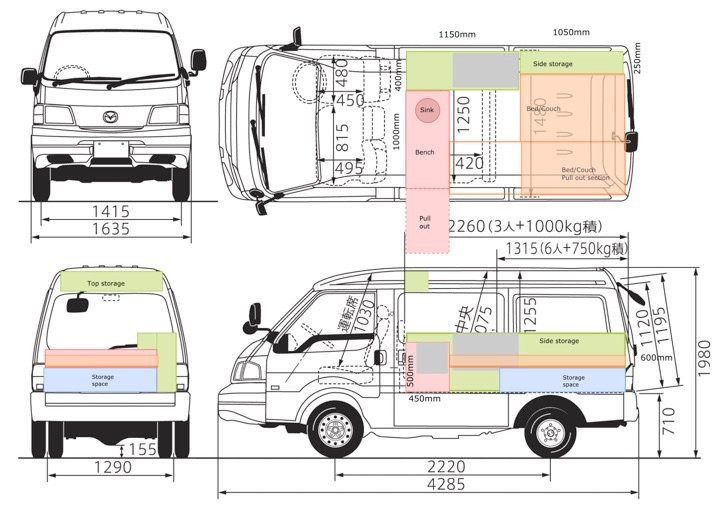
It all started with a bit of dreaming and planning. We sketched out different layouts, collected inspiration on Pinterest and measured just about every corner of the van to work out how to make the most of the limited space.
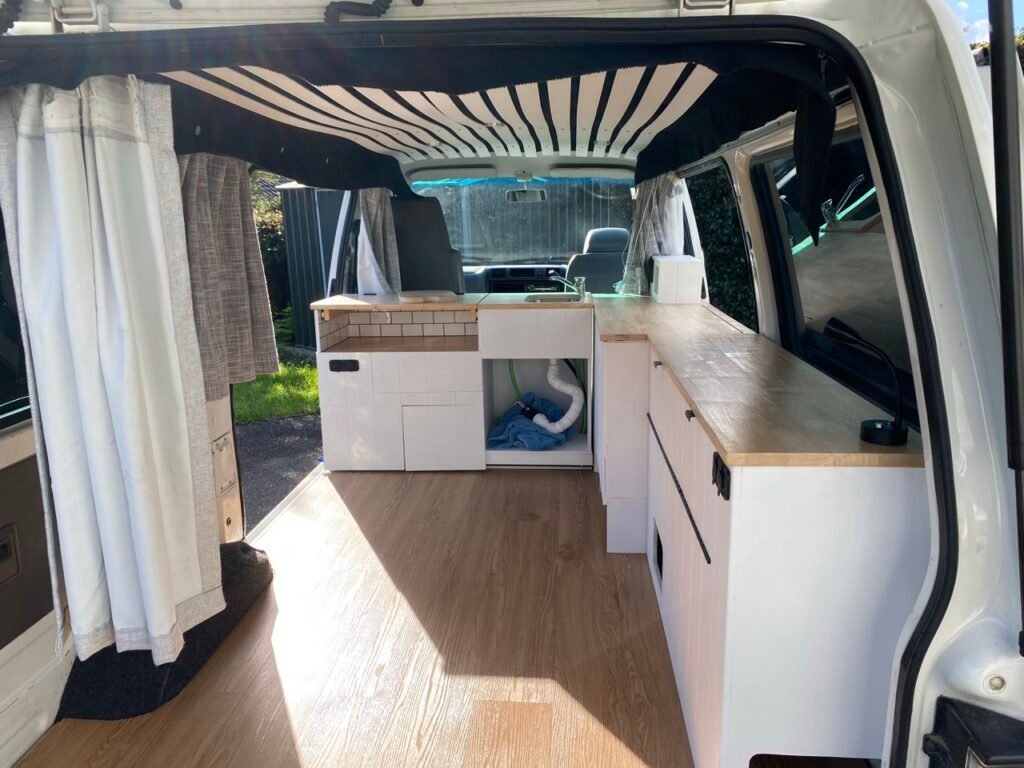
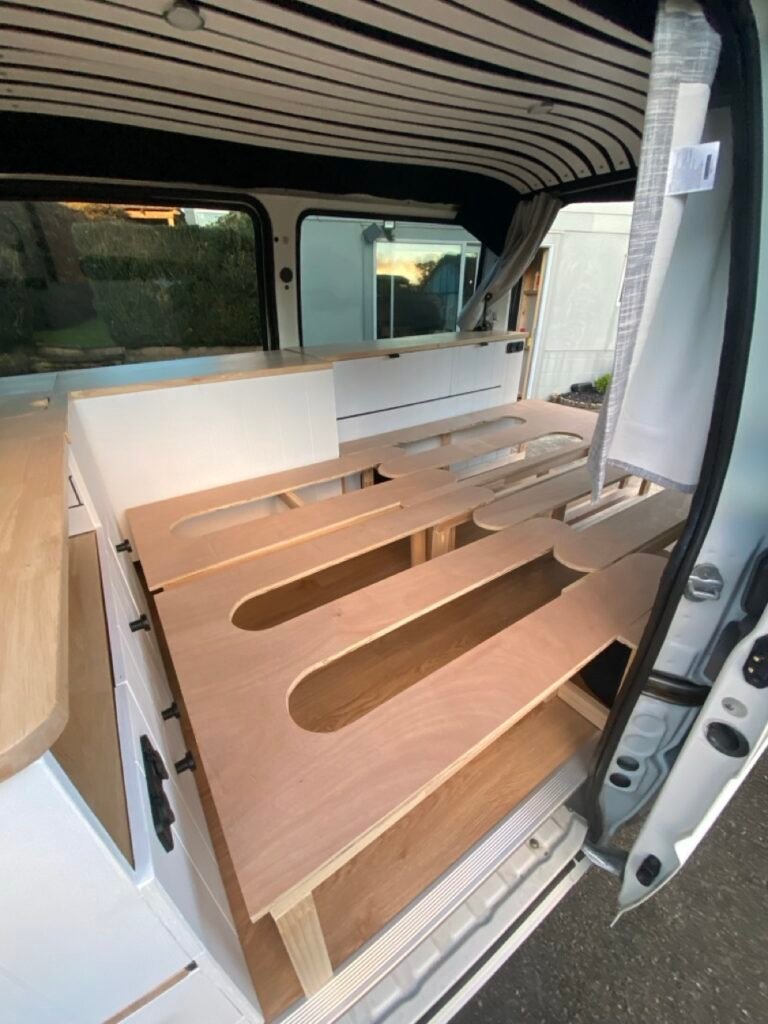
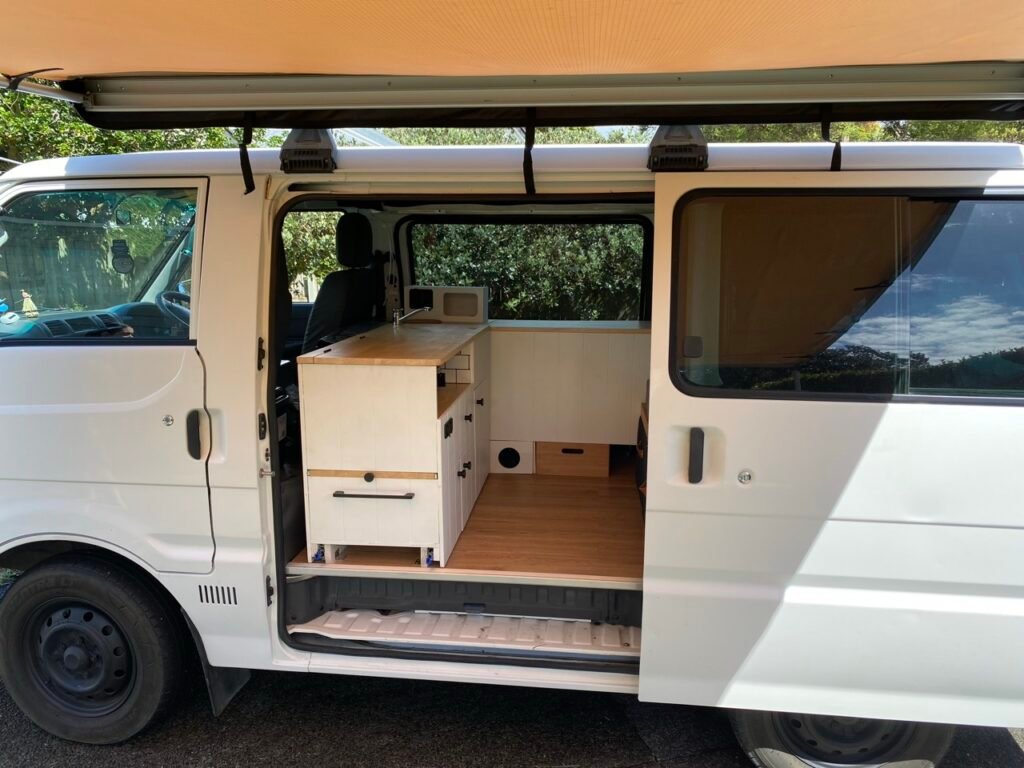
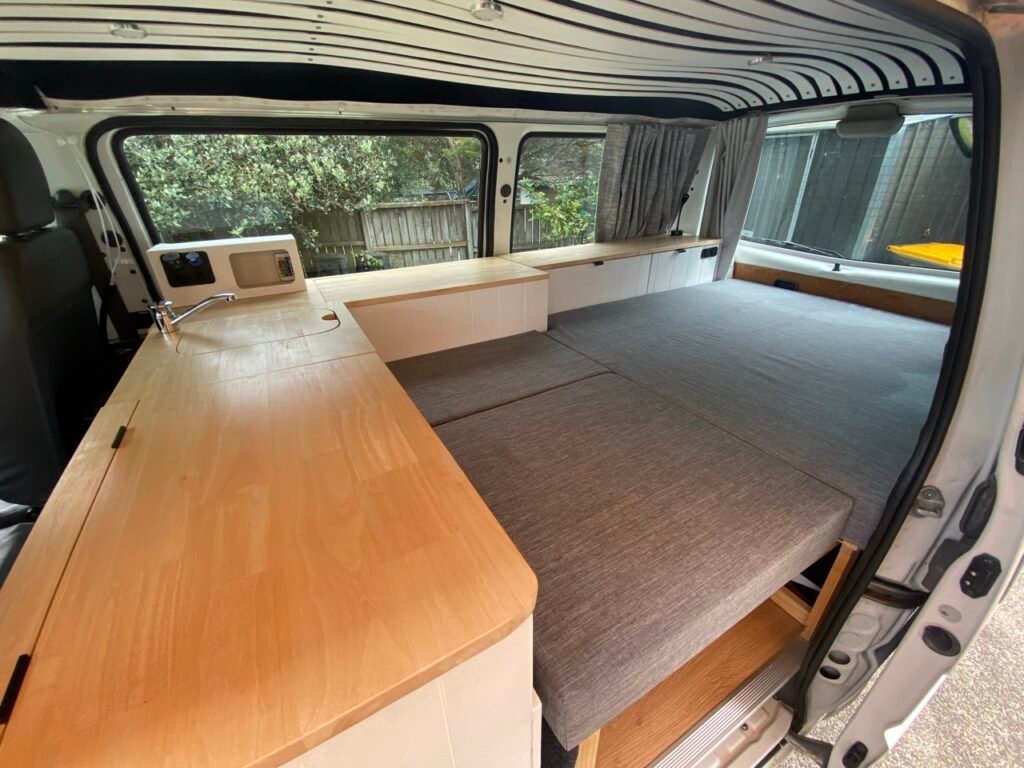
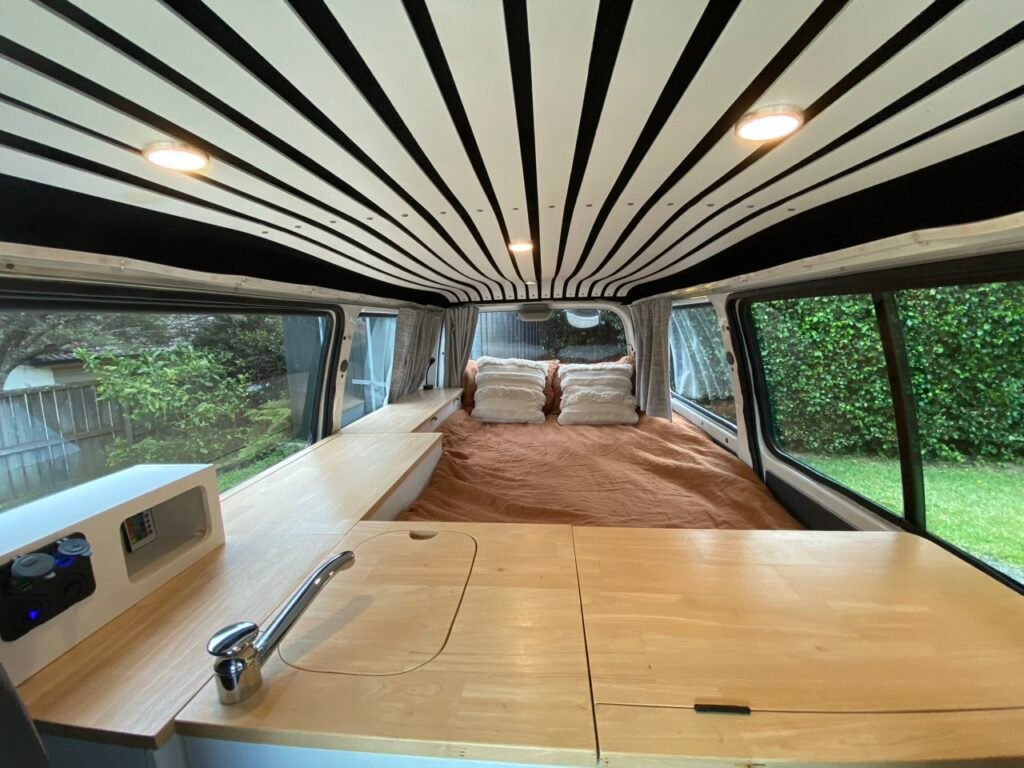
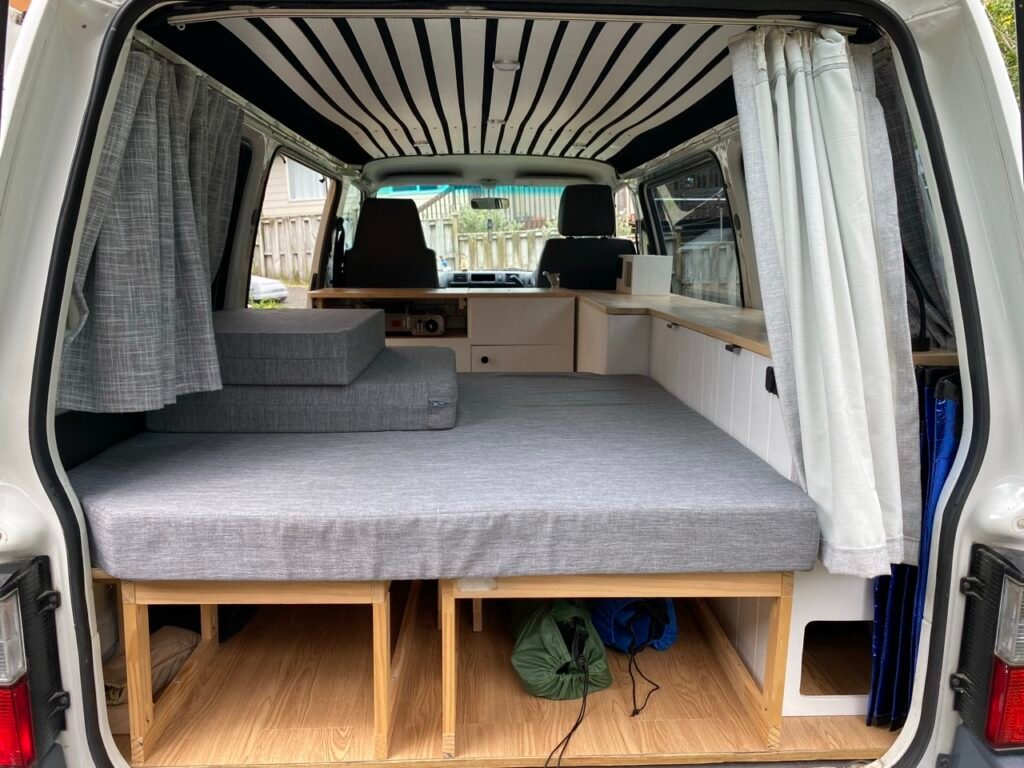
There were a few must-haves that we designed around: an extendable bed, a functional kitchen and plenty of storage. We eventually settled on a layout that ticked all three boxes, including a pullout kitchen with cooking facilities, running water and a sink.
Getting the layout right was probably one of the most important parts of the project, as every centimetre needed to serve a purpose.
2. Stripping it back and preparing the van
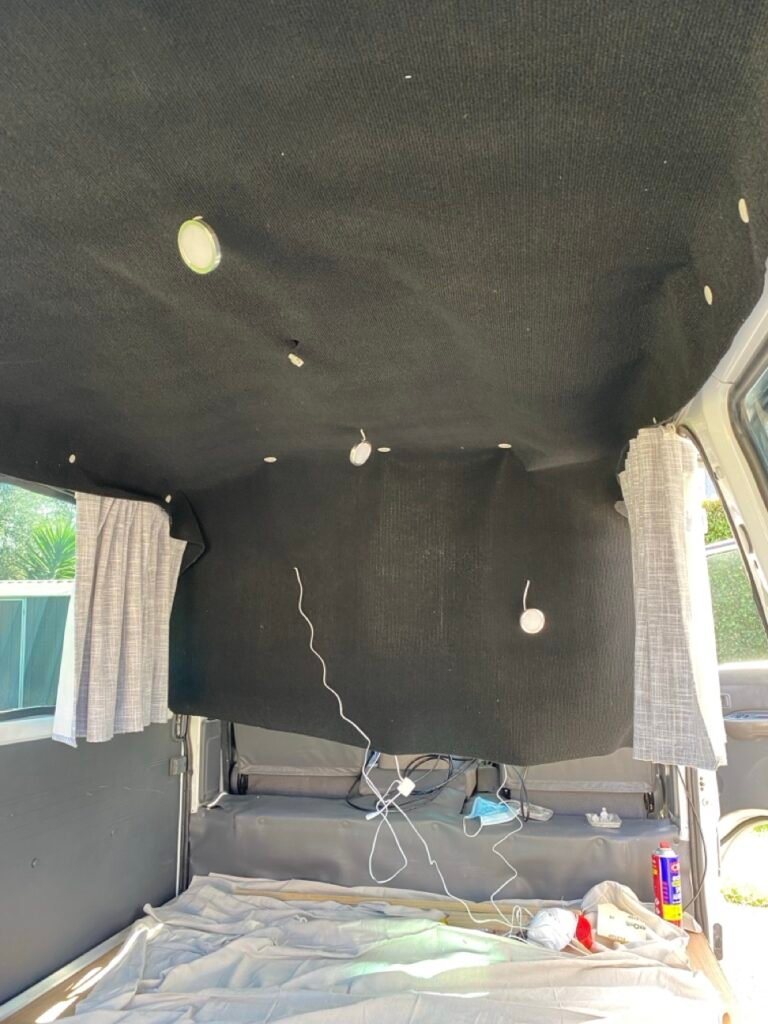
Once we had a plan, it was time to strip out the old setup and prepare the van for its transformation.
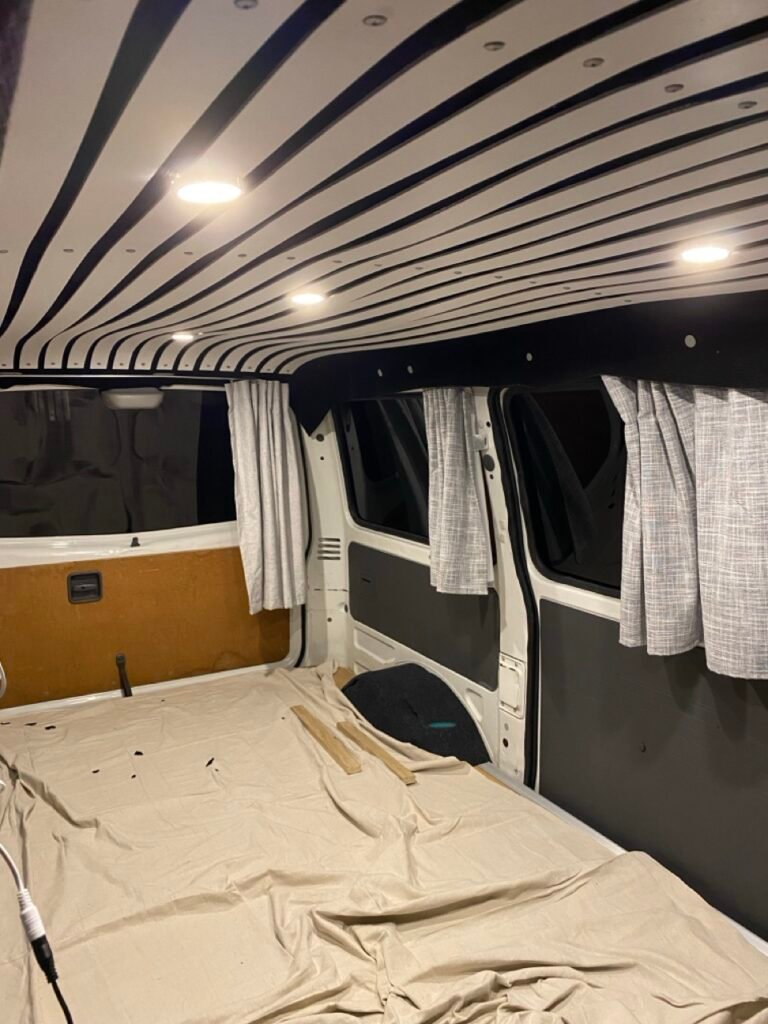
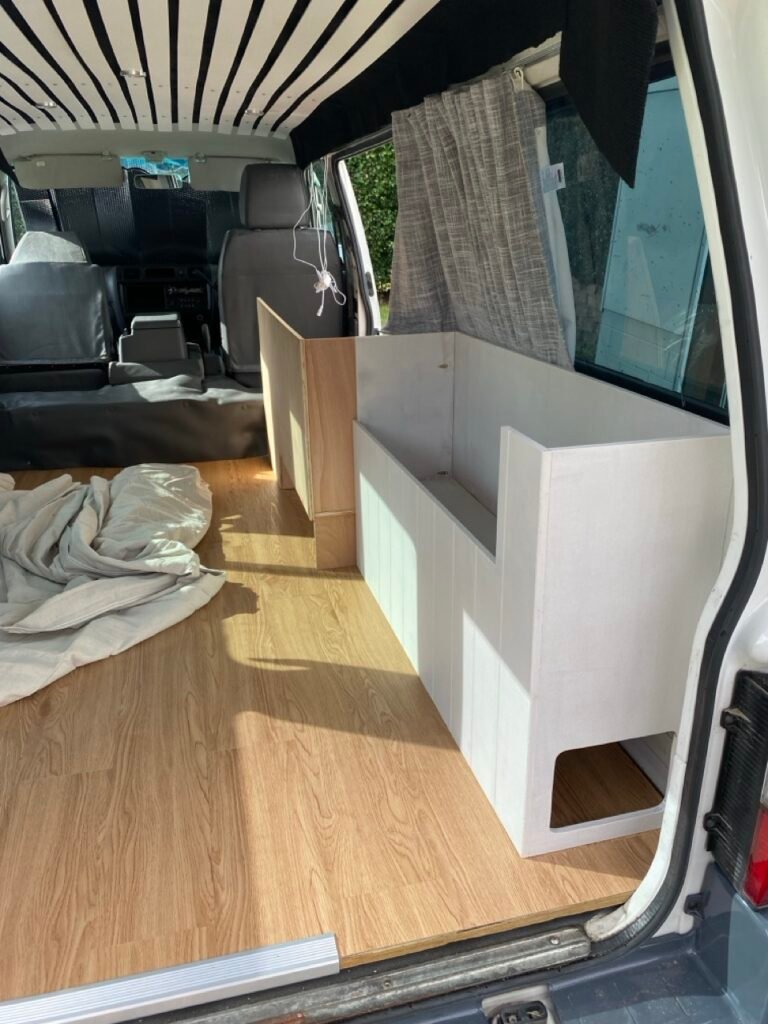
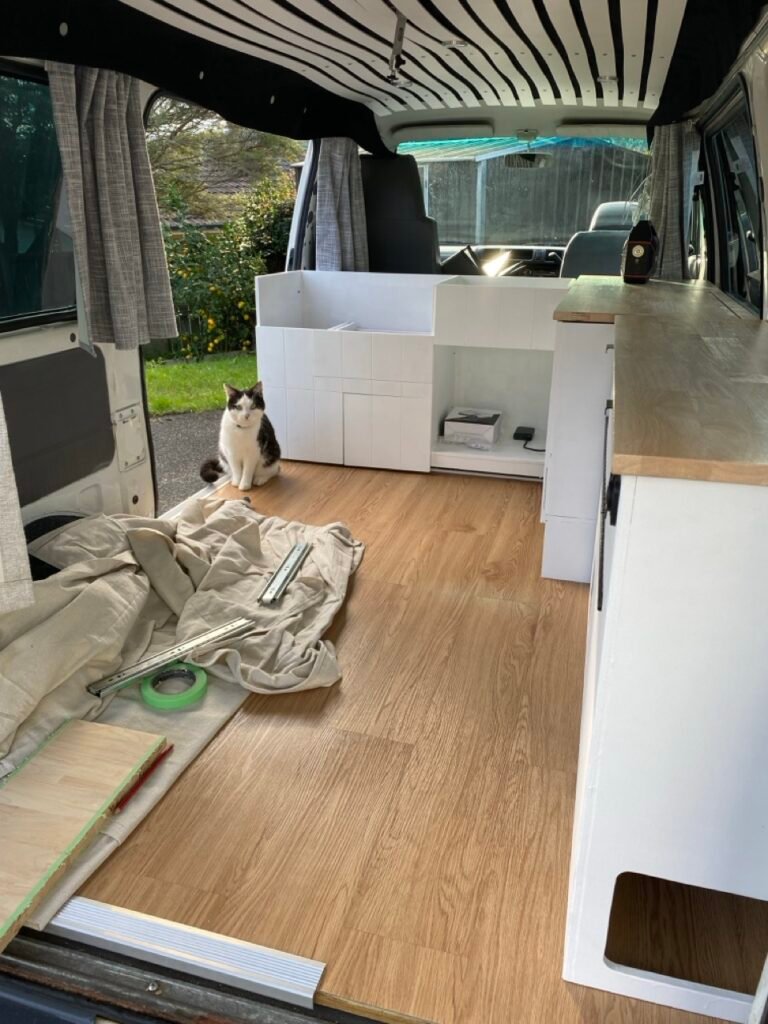
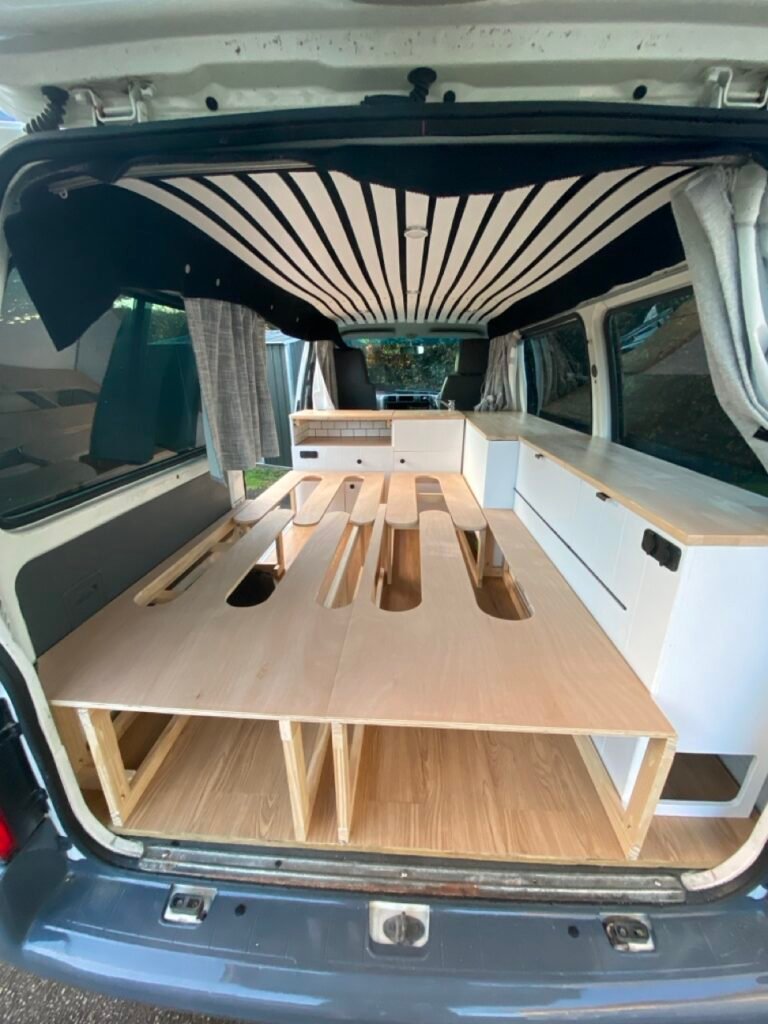
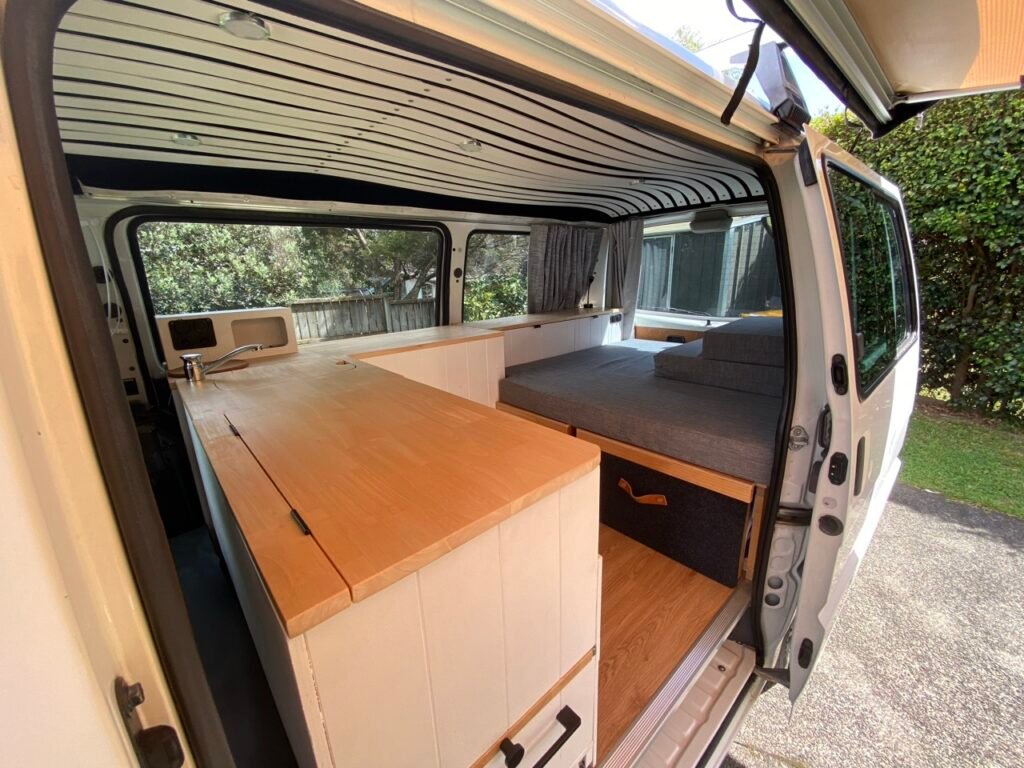
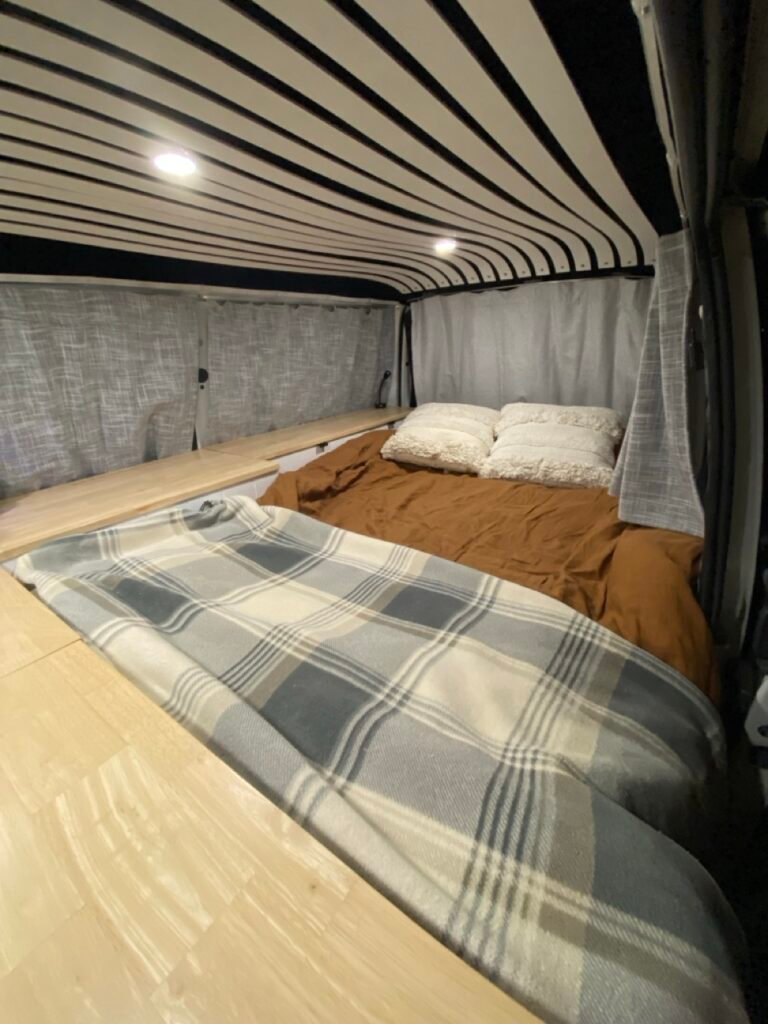
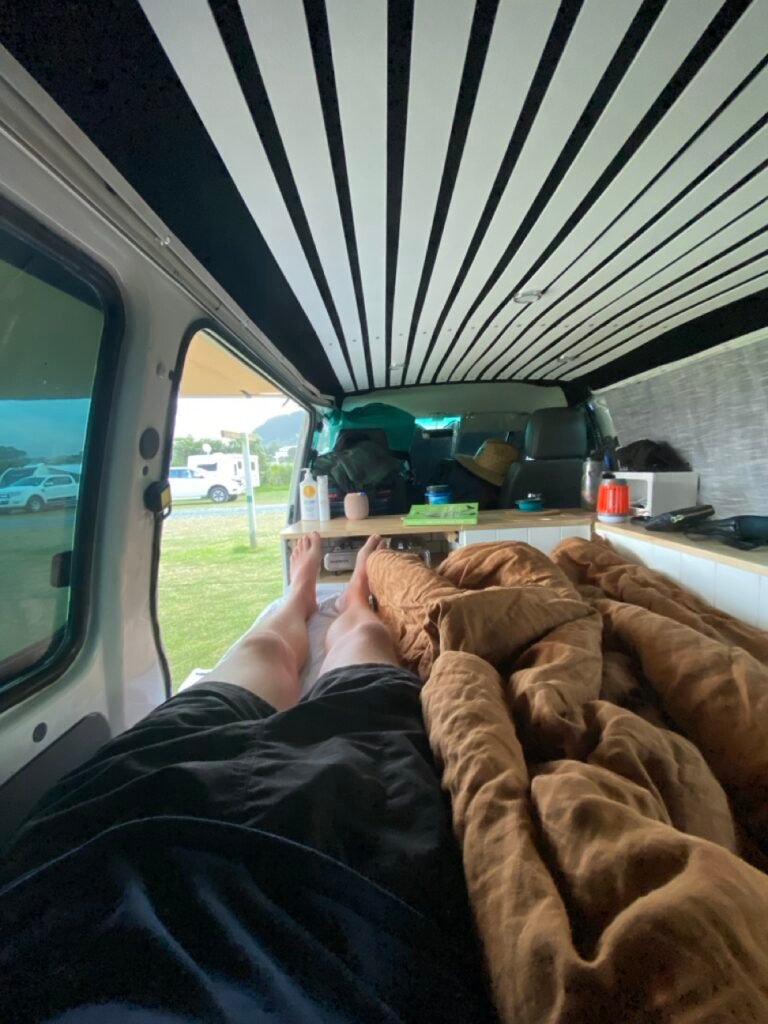
We started by installing new adhesive vinyl flooring, which immediately made the interior feel a bit more homely. For the ceiling we glued black fabric to the roof to give it a more finished look and wired in some 12V LED lighting.
We then painted some 3mm plywood white and screwed it into the existing frame. This helped hold the fabric in place while adding a nice contrast to the black ceiling.
One thing worth mentioning if you’re doing something similar is to be really careful where you put your screws. We made sure to only fix into the van’s existing frame to avoid accidentally drilling through the exterior.
3. Custom cabinetry and storage
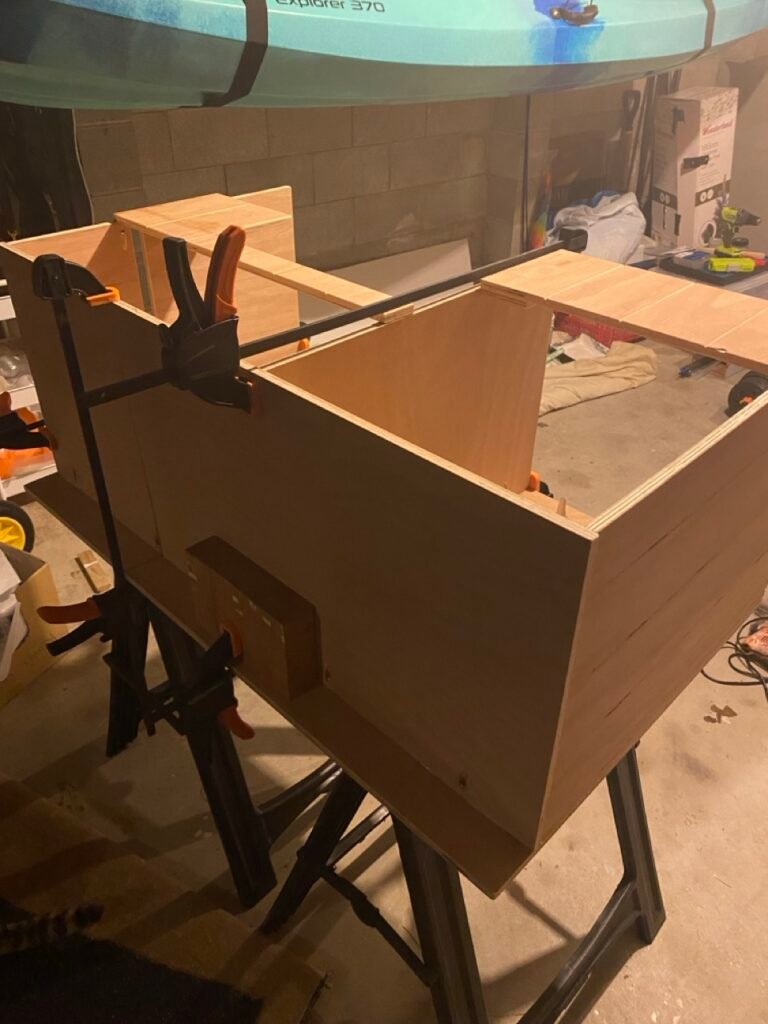
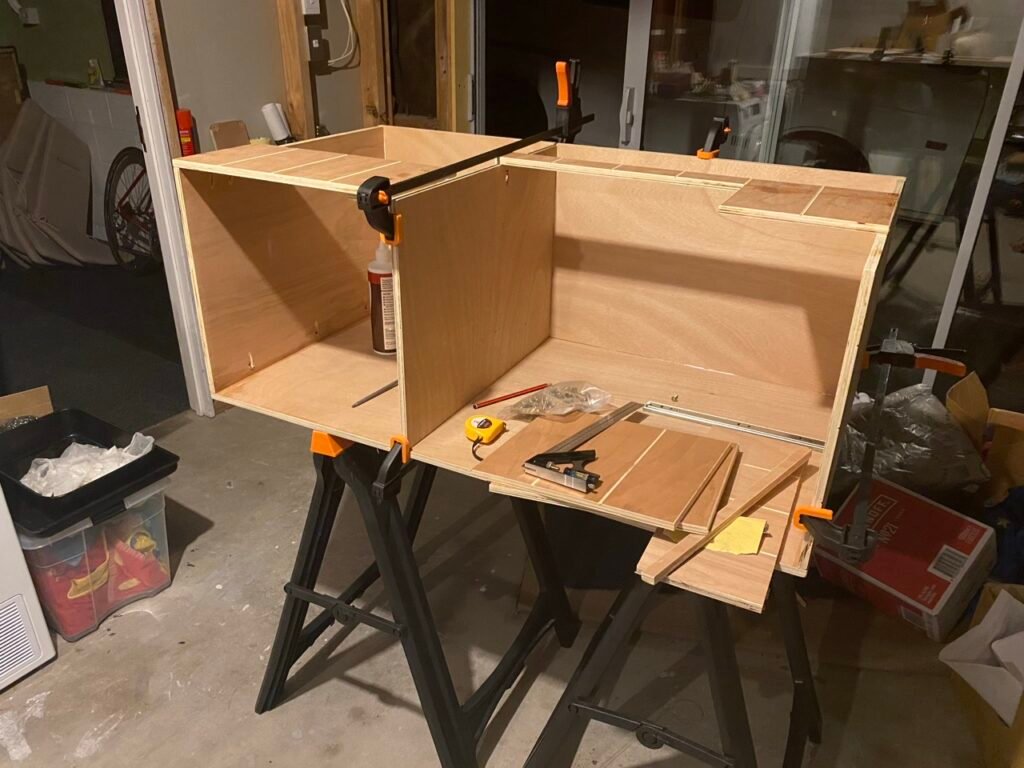
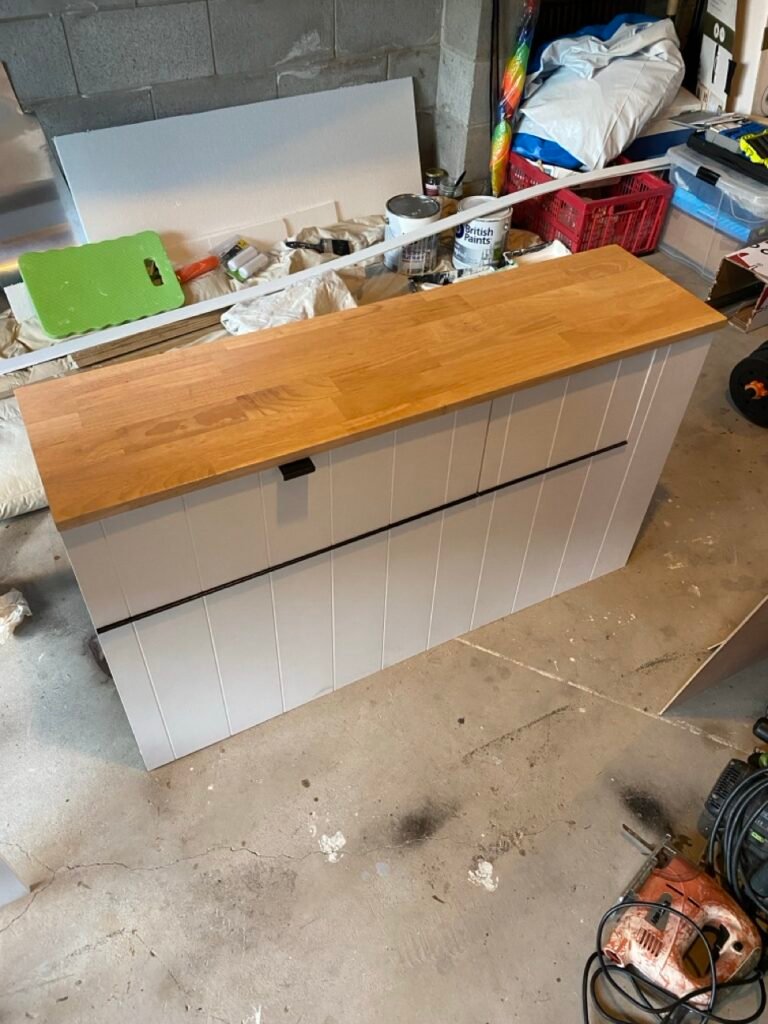
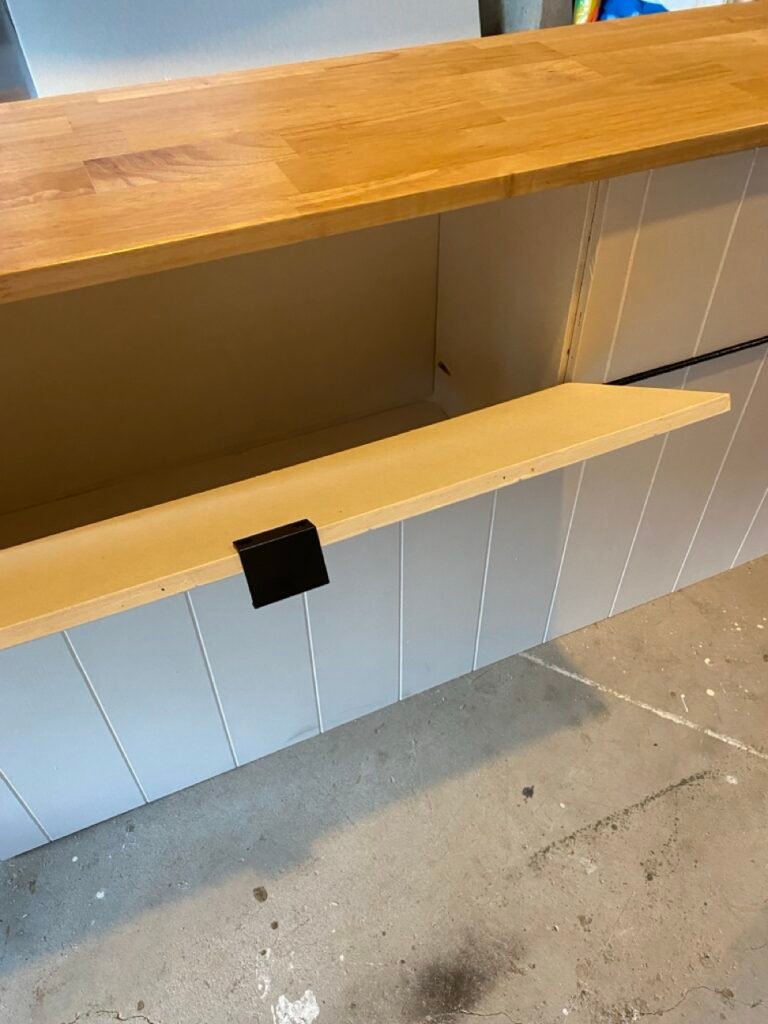
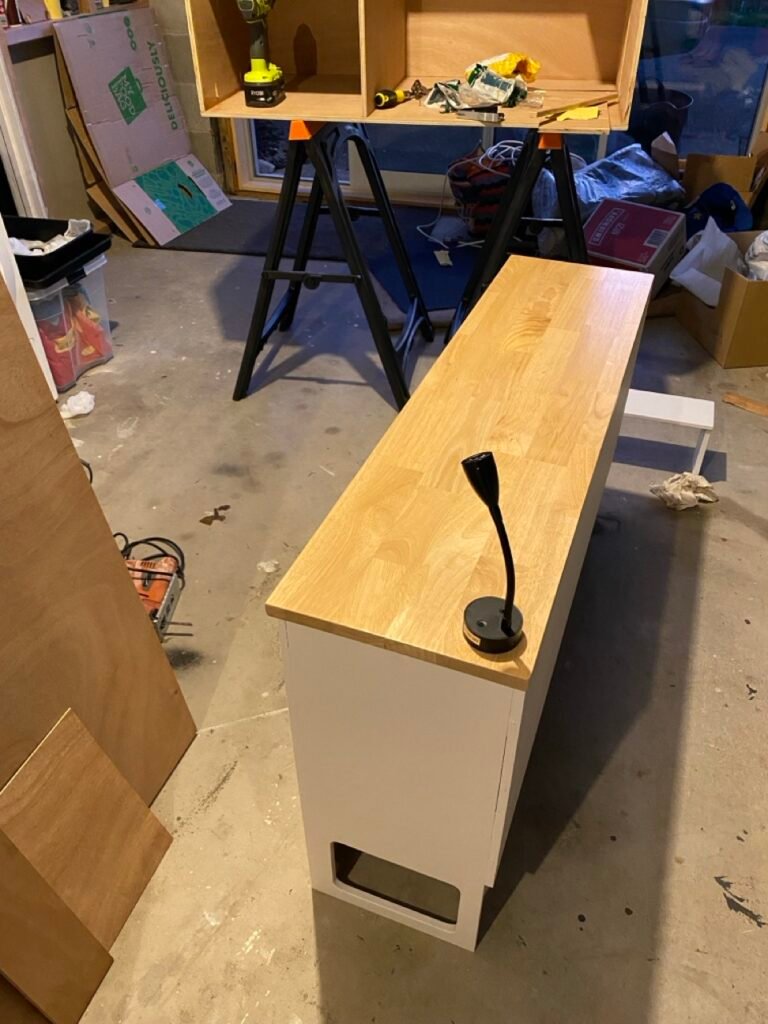
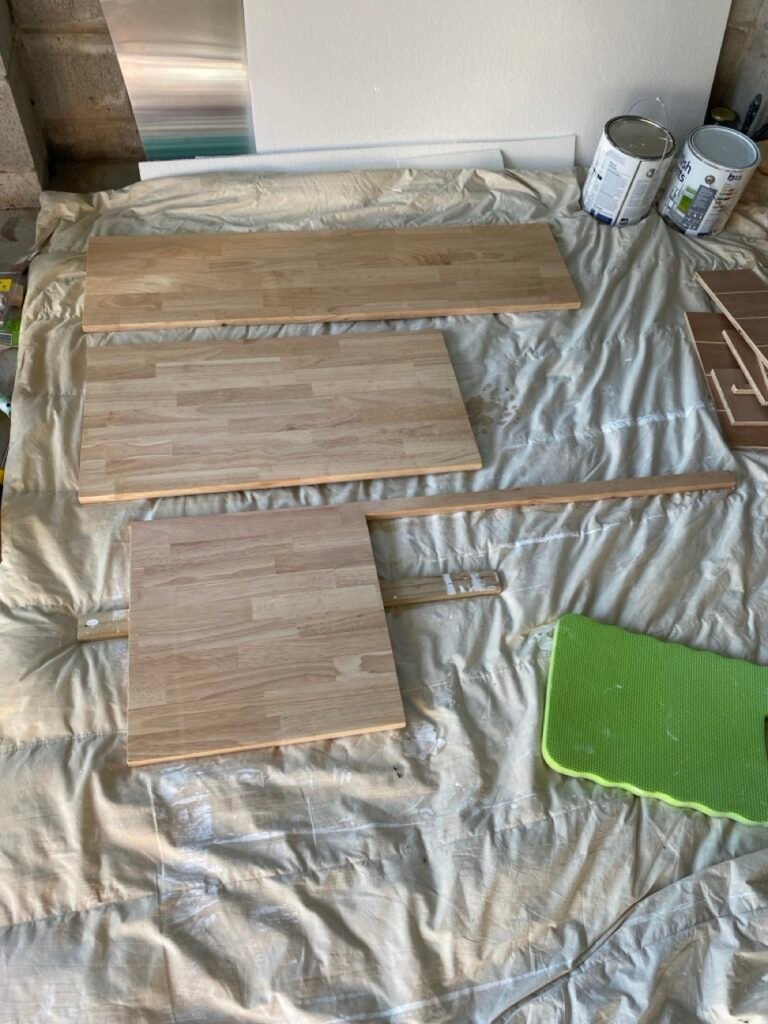
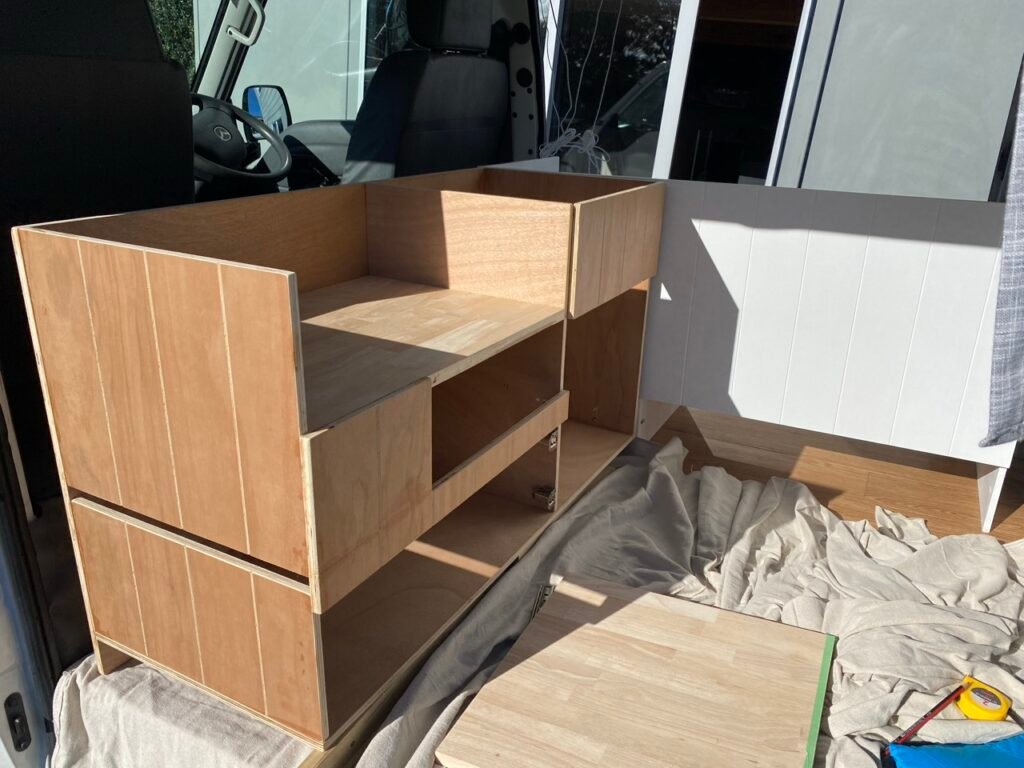
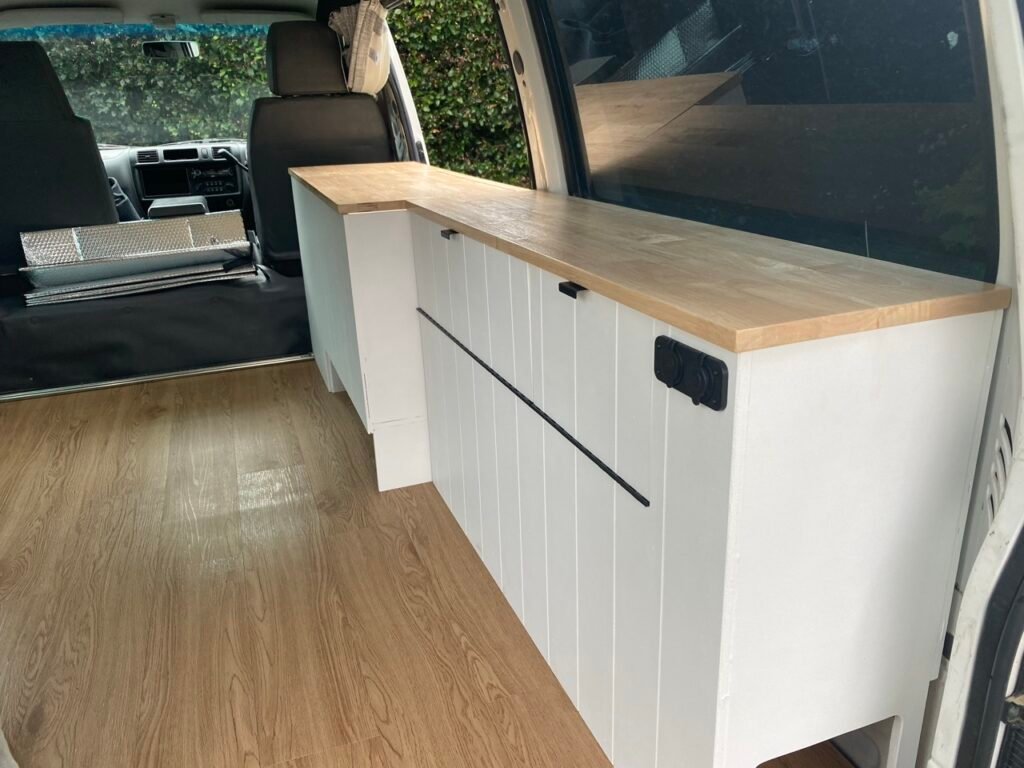
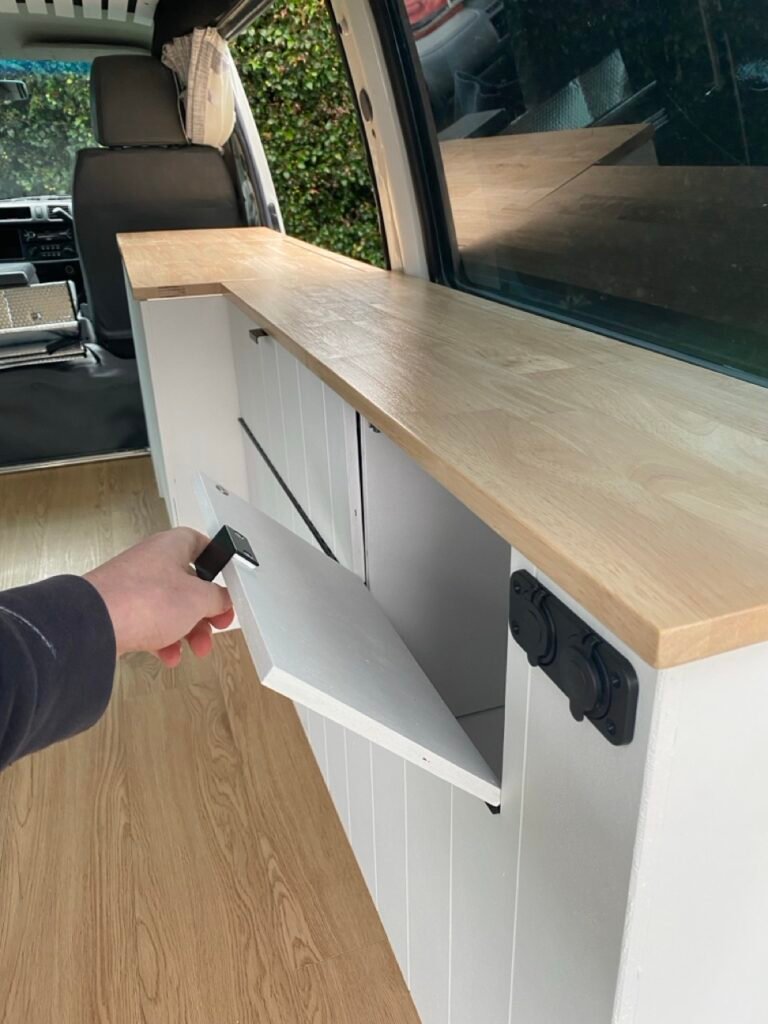
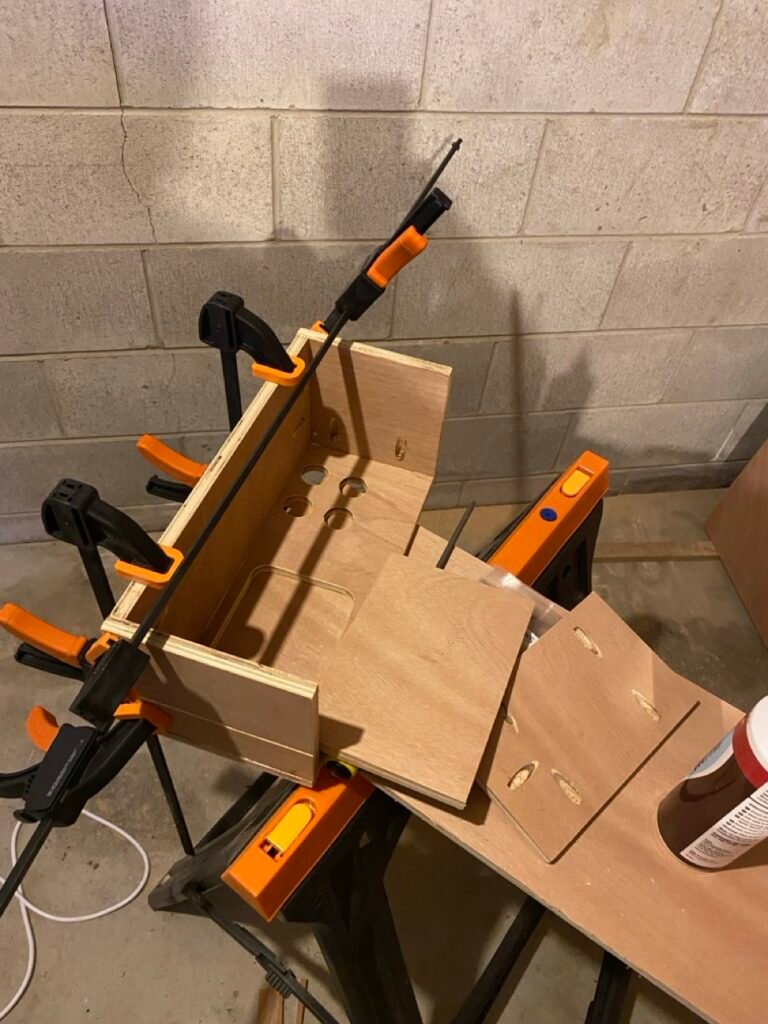
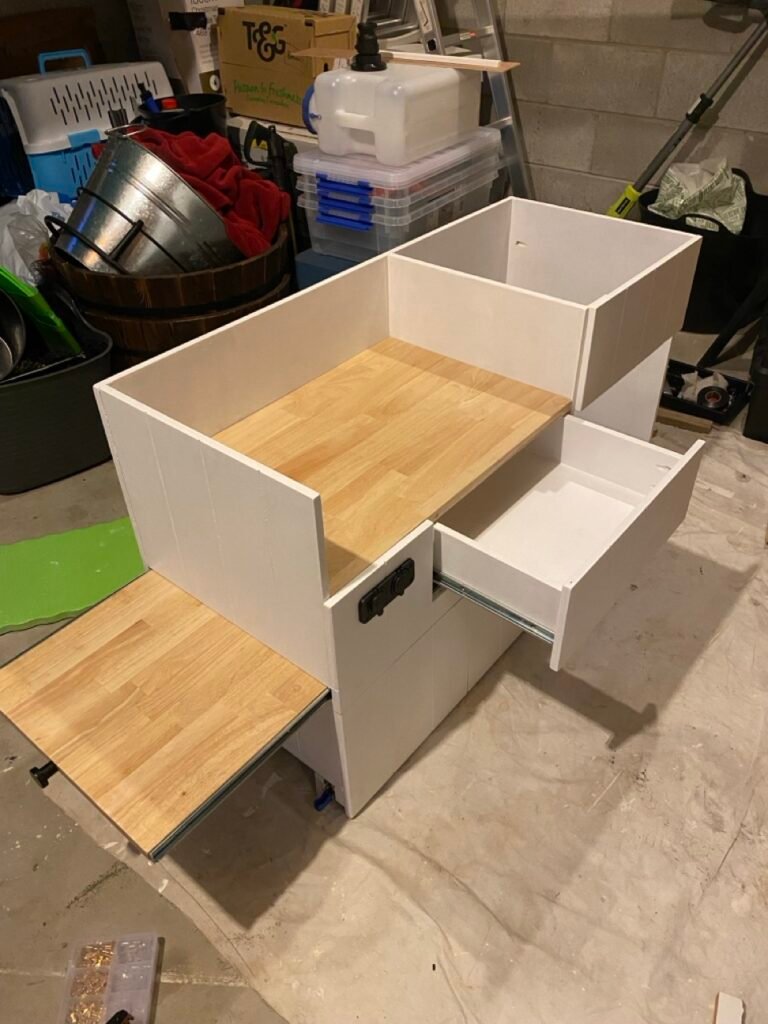
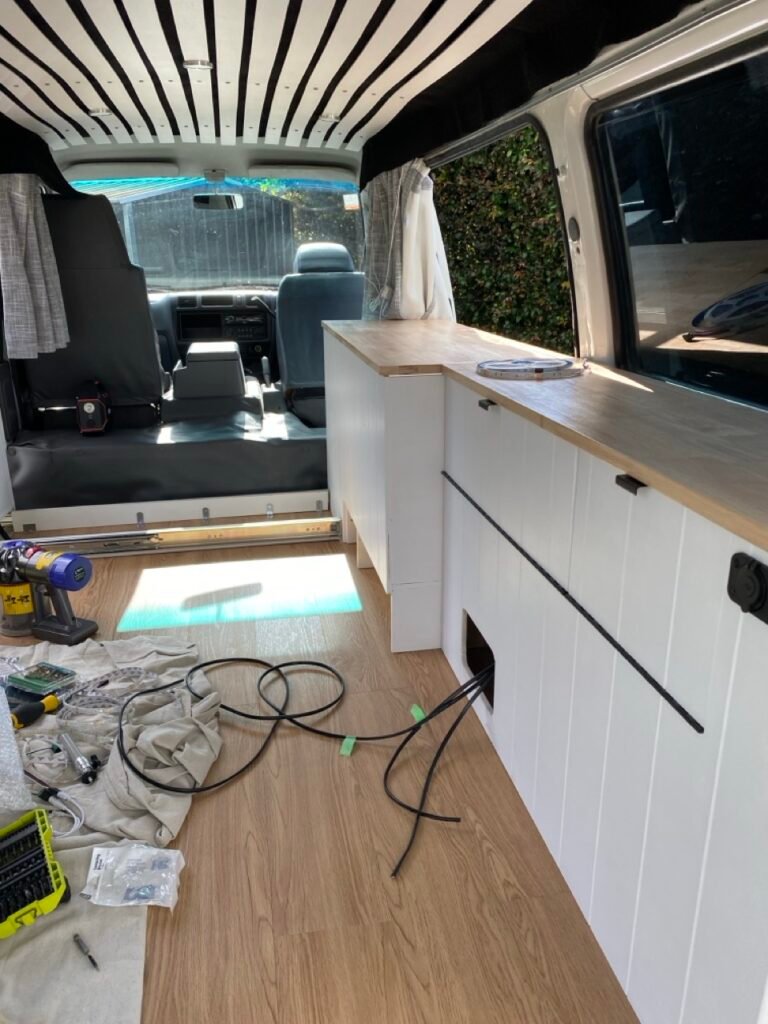
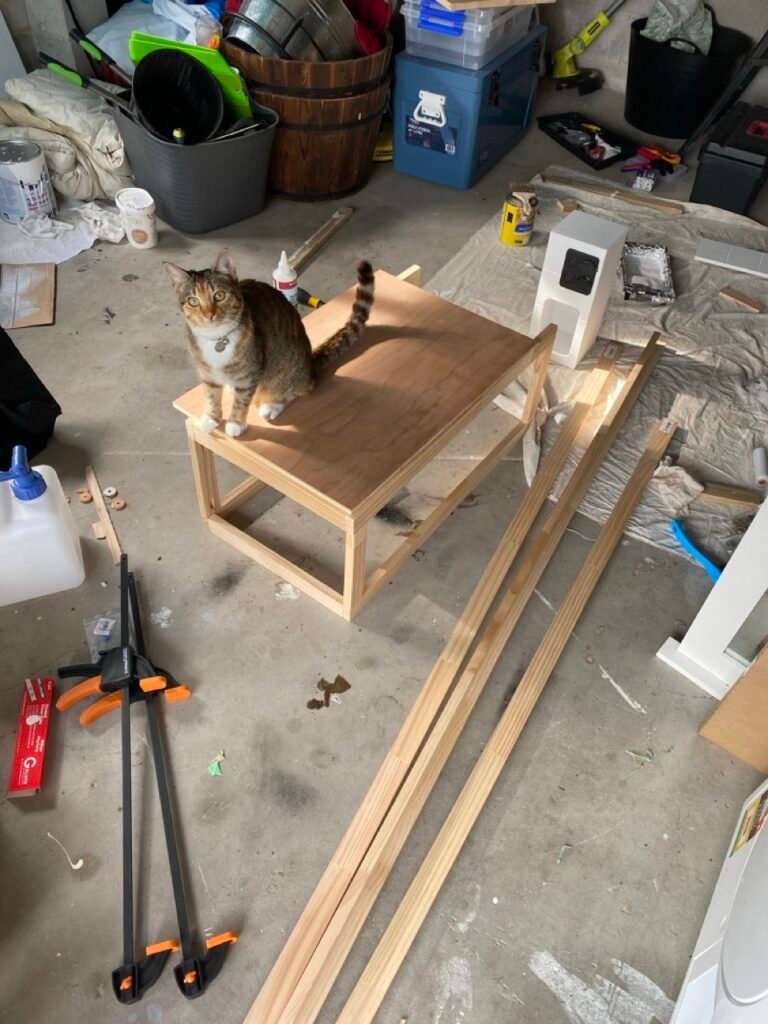
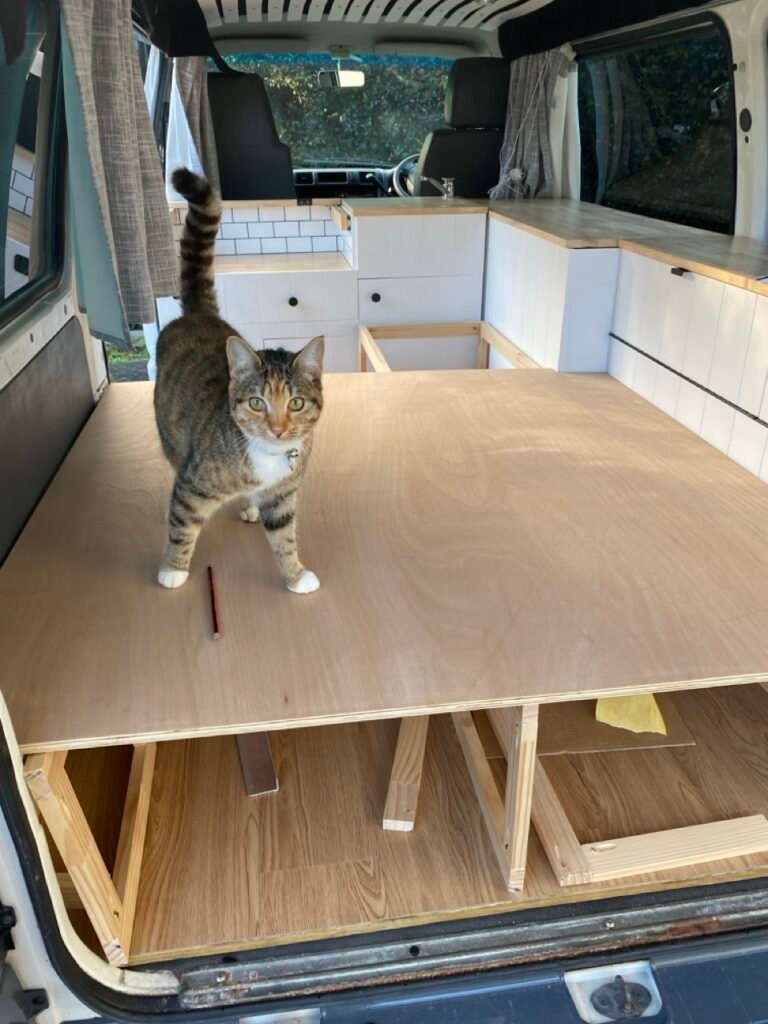
With the foundations sorted, we moved on to building the cupboards and storage. Everything was custom-built to fit the van, making use of as much available space as possible.
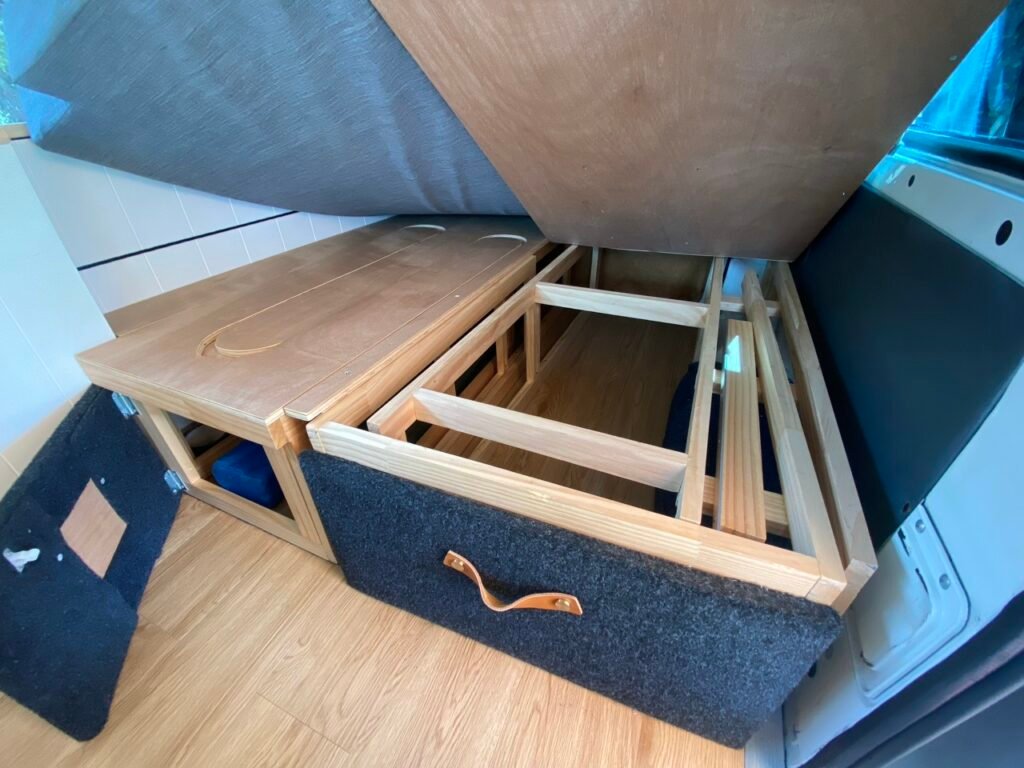
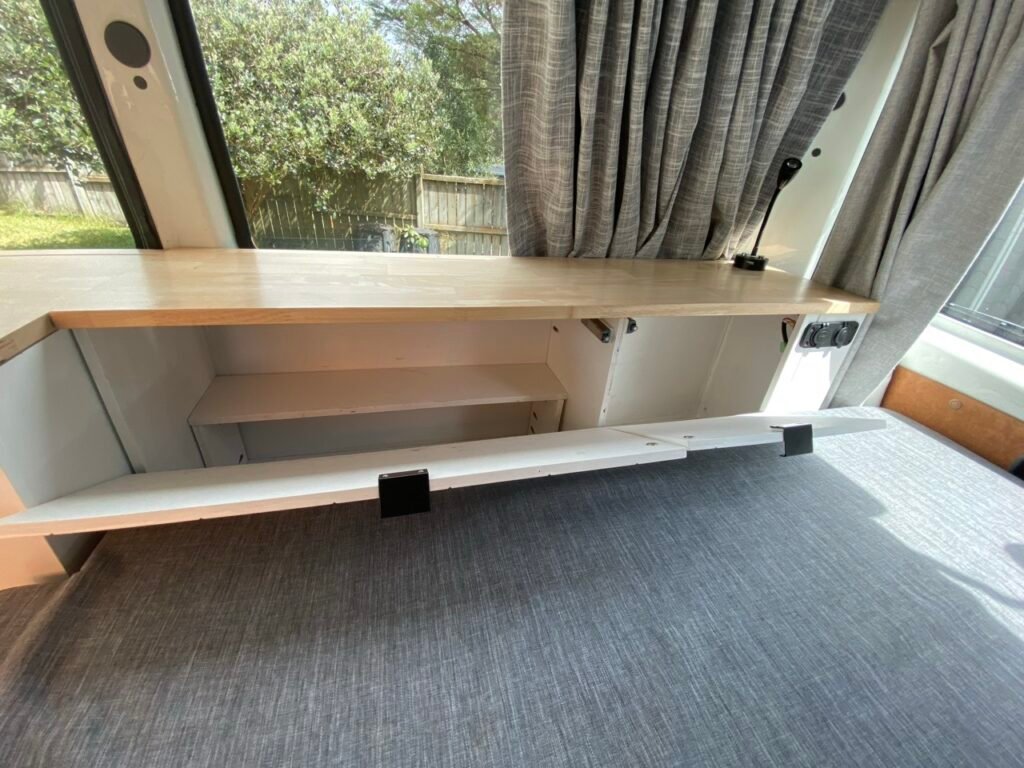
The rear side cupboards provided easy access to the things we’d need at night, while the compartments underneath the bed gave us room for bulkier items like camping chairs and our table.
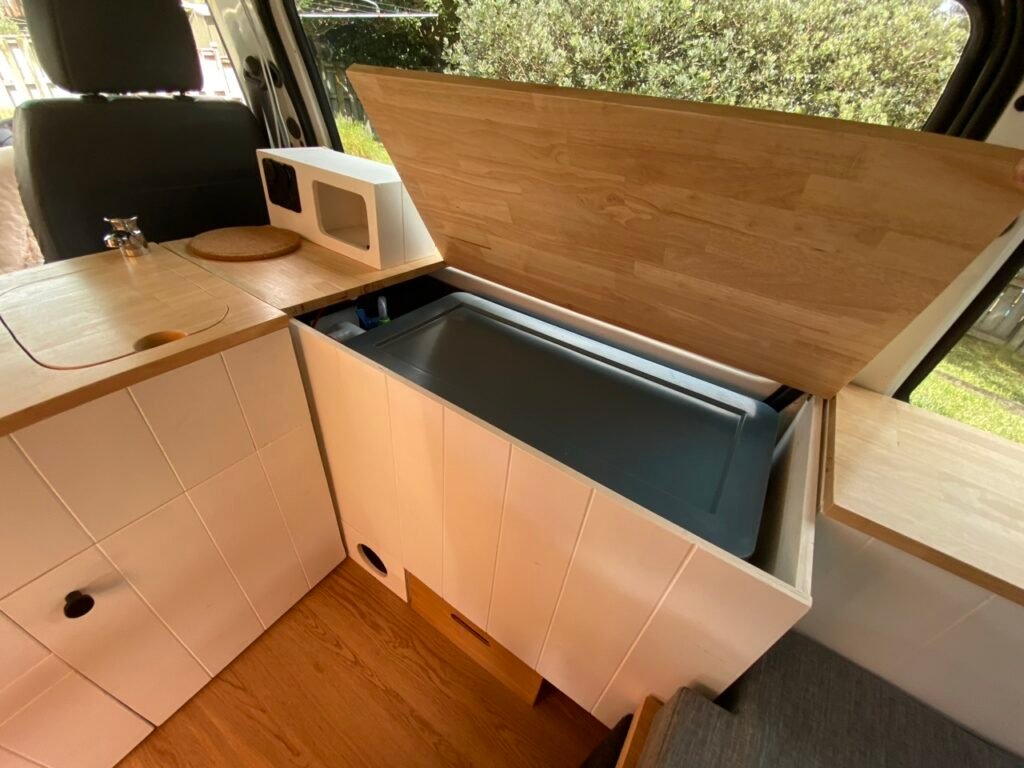
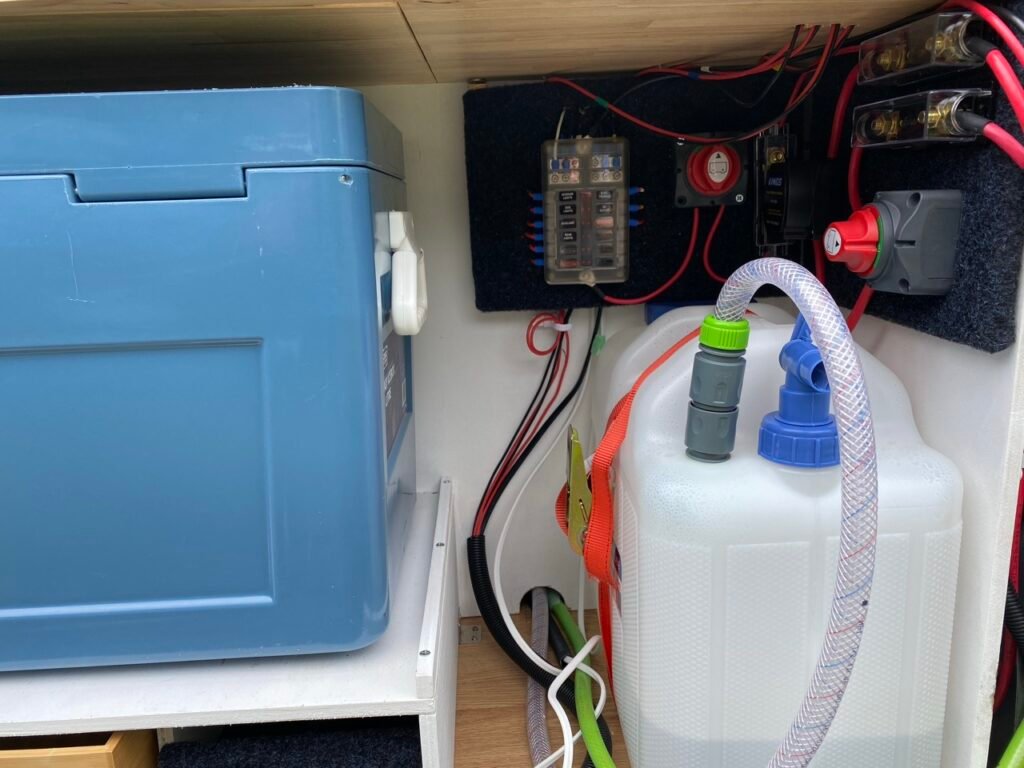
The side cupboard beside the kitchen housed our icebox, fresh water tanks and the central 12V fusebox and wiring. It was a bit of a puzzle fitting everything in, but having a dedicated place for everything made a big difference.
4. The pullout kitchen
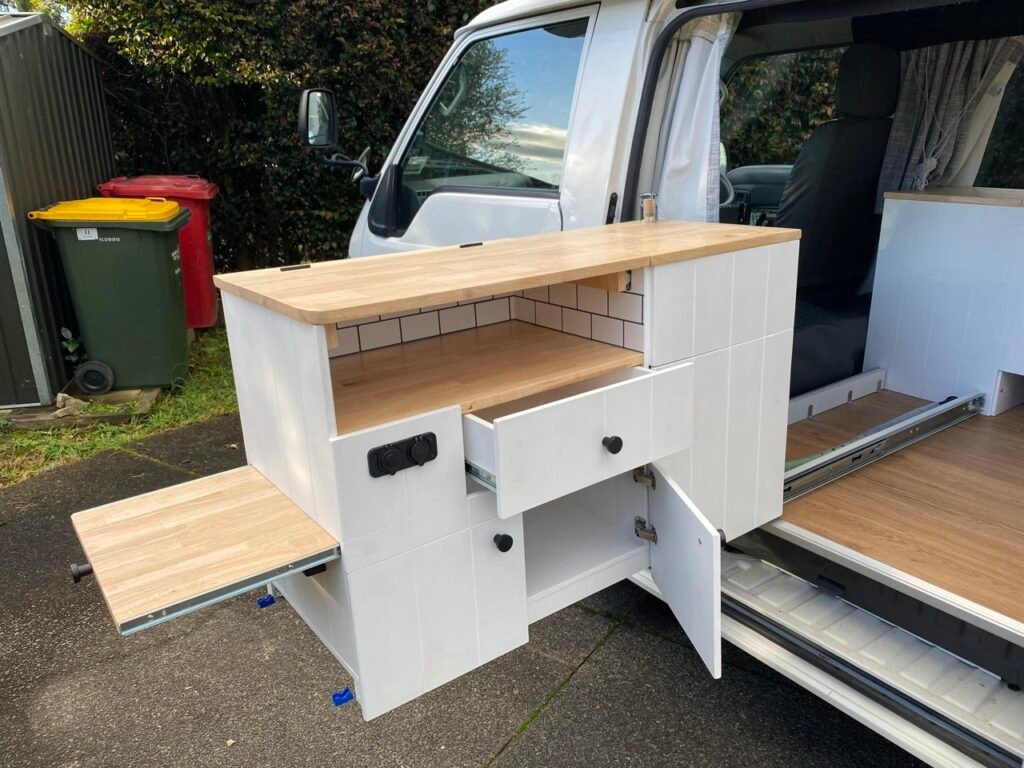
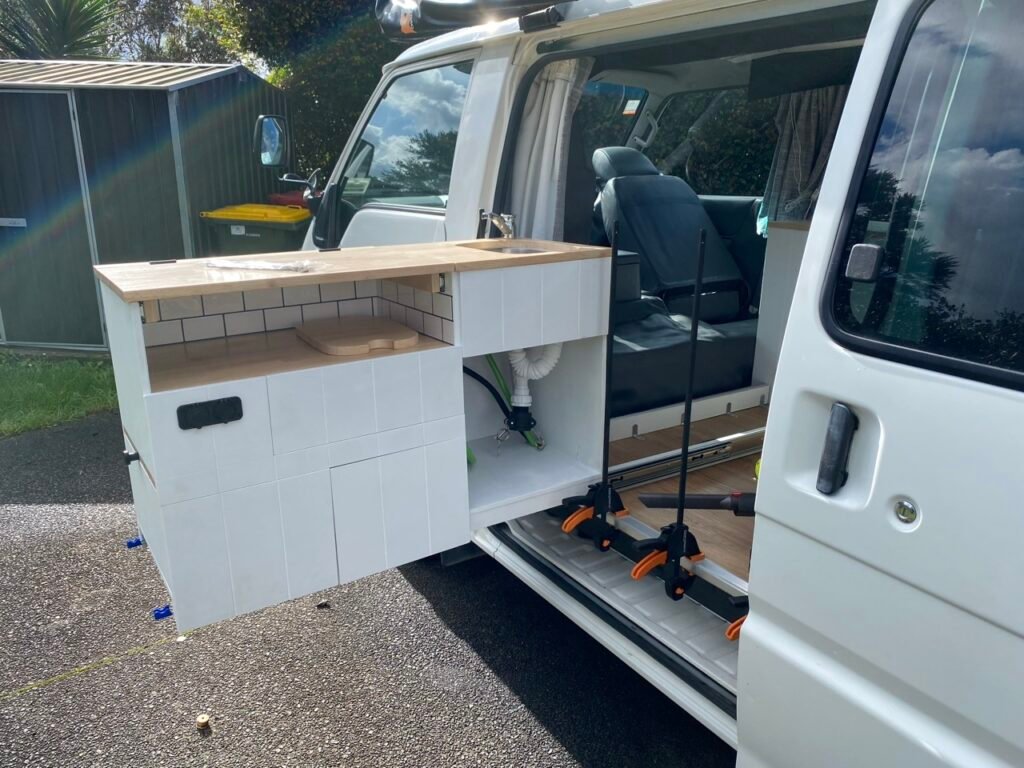
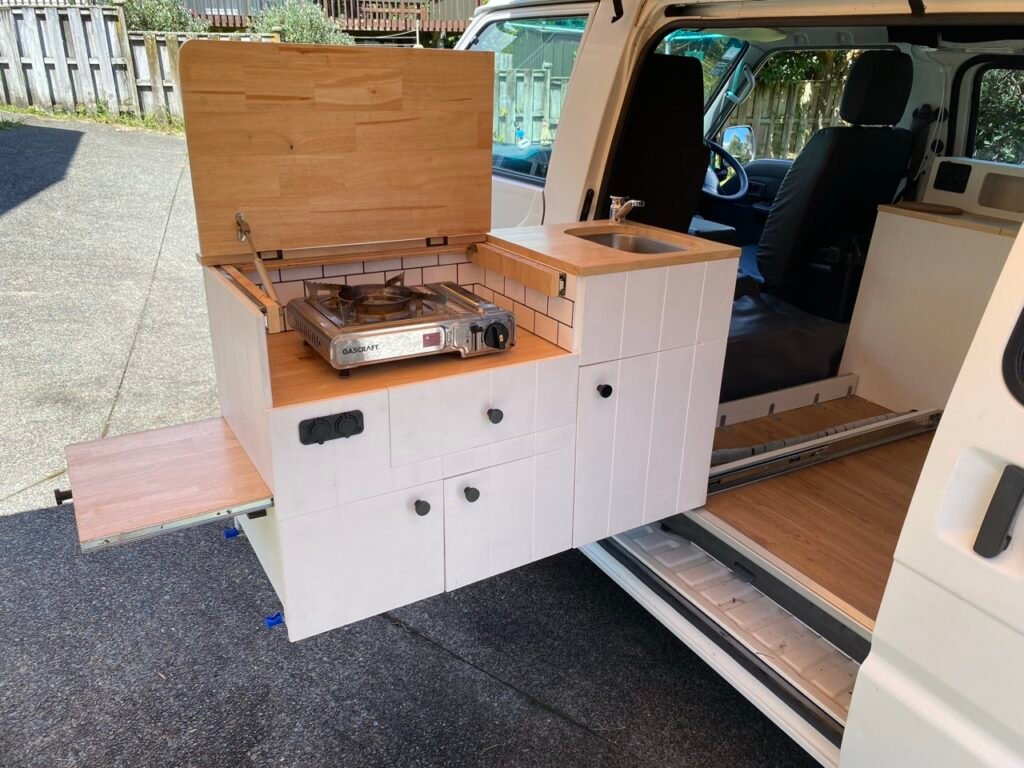
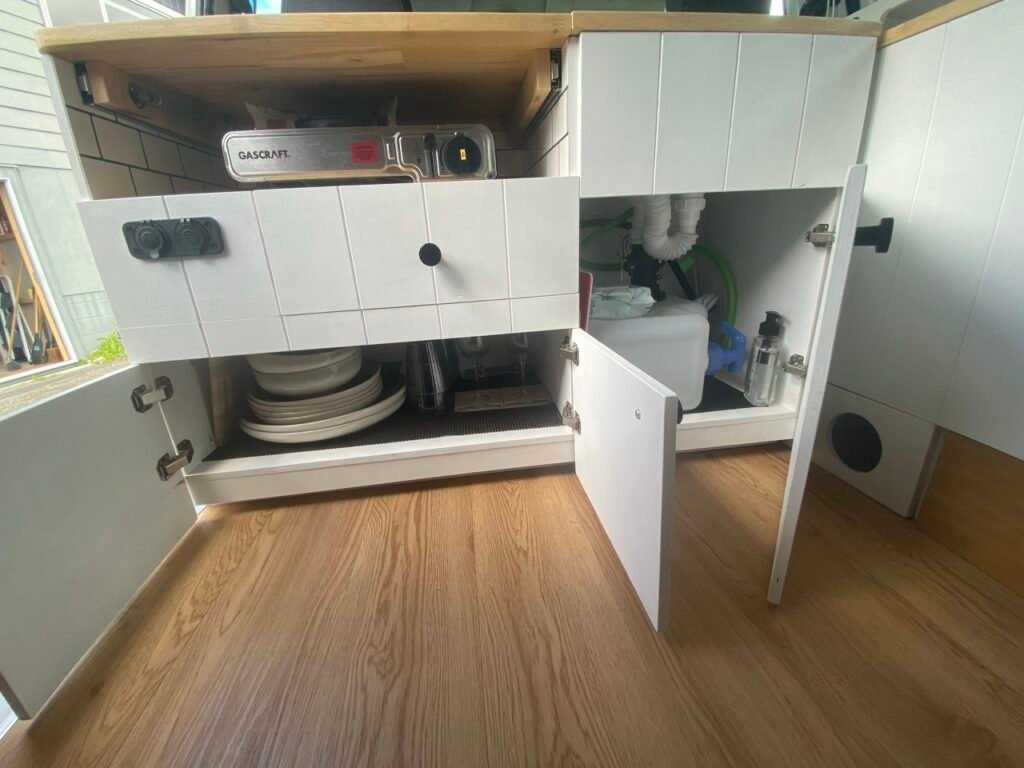
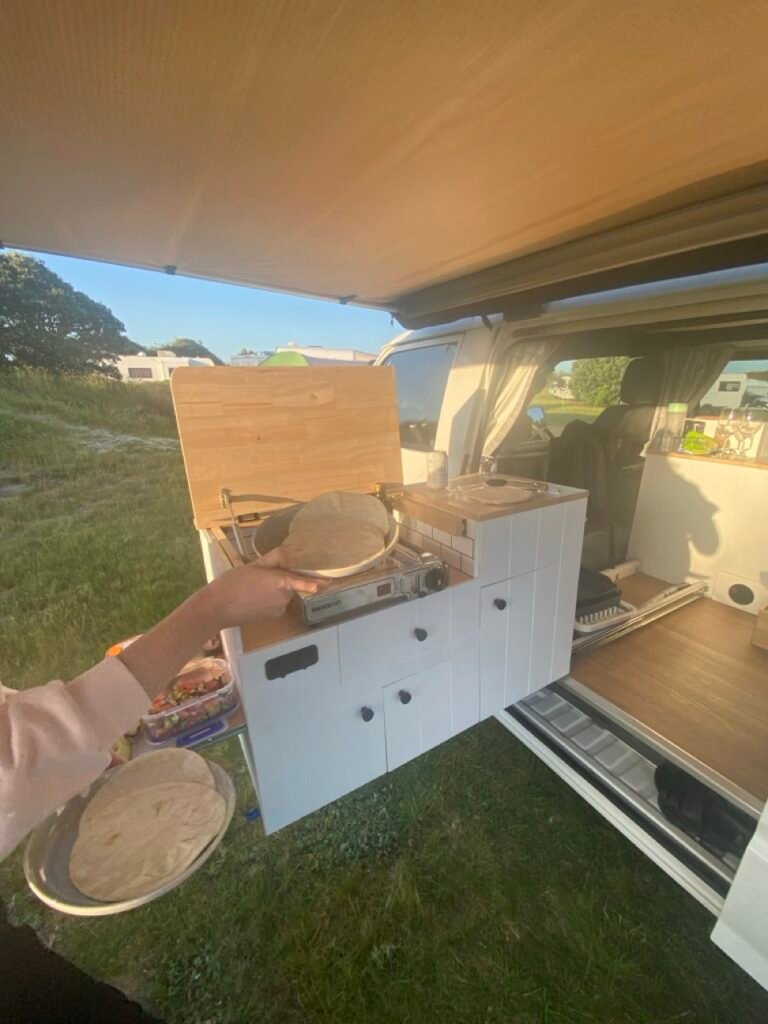
One of our favourite features was the pullout kitchen. We designed it to slide out from underneath the bed and sit beneath the large awning, giving us a proper outdoor cooking space.
Despite the limited room, we managed to fit in a sink with running water, a gas cooker, plates, cutlery and chopping boards. Fresh water was supplied through a hand pump, with wastewater draining into a 12L grey water tank stored in the cupboard below.
We also had to get a little creative with the plumbing and electrical wiring, allowing enough slack for everything to move with the kitchen when it was pulled out.
The end result was a pretty impressive little outdoor kitchen that had everything we needed. Being able to cook outside on a beautiful summer’s day was definitely one of the highlights of the setup.
5. Wiring and off-grid power
Having the ability to camp without needing a powered site was important to us, so we installed a 100Ah 12V AGM deep-cycle battery with a dual-battery charging system connected to the vans main battery.
This meant the leisure battery charged off the alternator whenever we were driving, giving us a day or two of power when parked up.
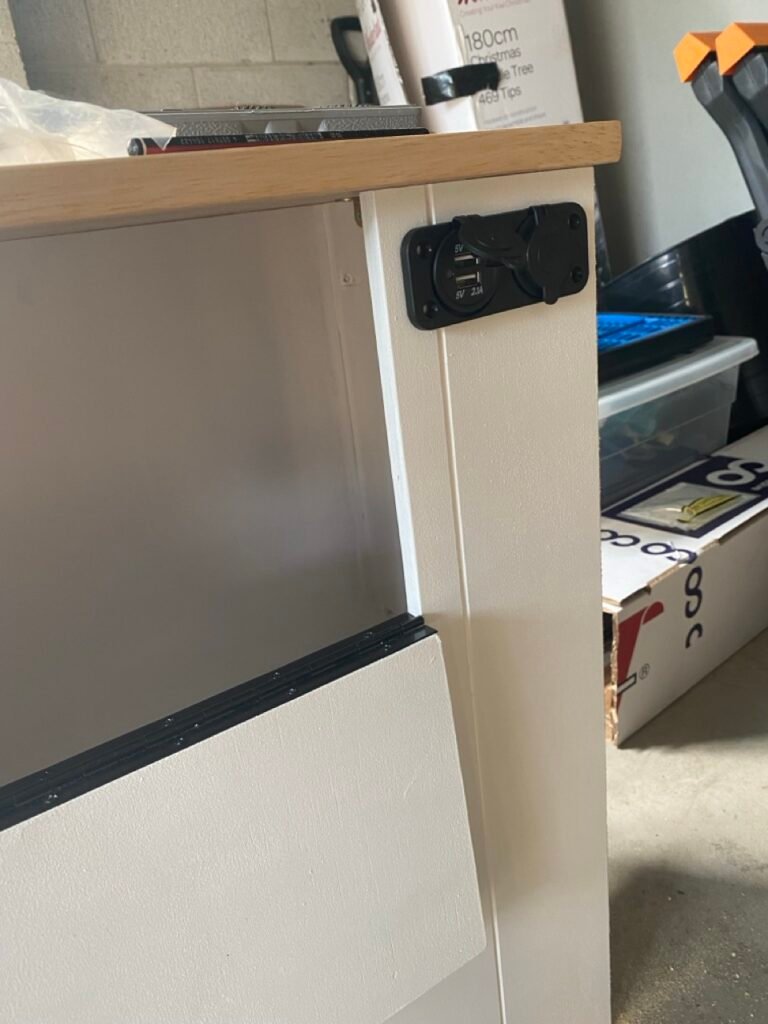
The system powered our LED strip and overhead lights, a small touch-controlled bedside lamp, and several USB and 12V outlets for charging phones and other devices. It was a relatively simple setup but more than enough for what we needed.
6. Finishing touches and making it comfortable
With the main build complete, it was time to add the finishing touches and work out how to fit all our camping gear into the van.
The bed was probably our biggest compromise. Given the layout, it was an awkward shape and roughly the size of a king single, which made things a little cosy for two of us!
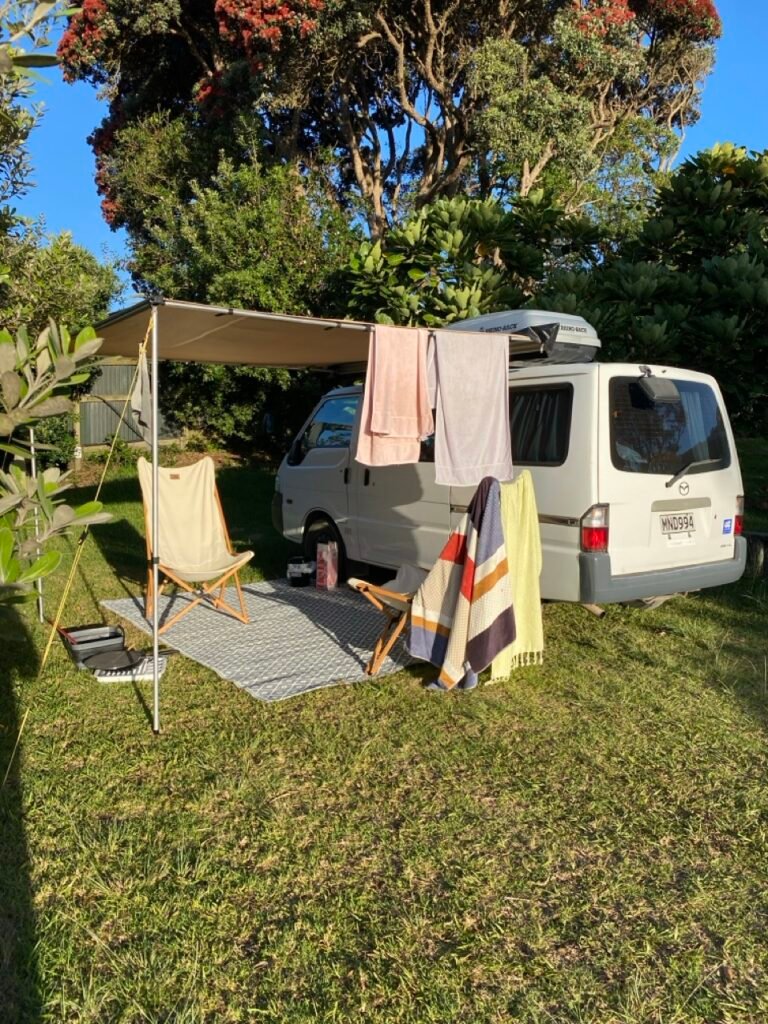
Despite that, we managed to squeeze in plenty of storage for camping chairs, a table, sports gear, board games and even some custom wine bottle storage. We also added a roof box to the roof racks for anything that wouldn’t fit inside.
It was amazing how much we managed to fit into such a small space.
Adventures on the Road
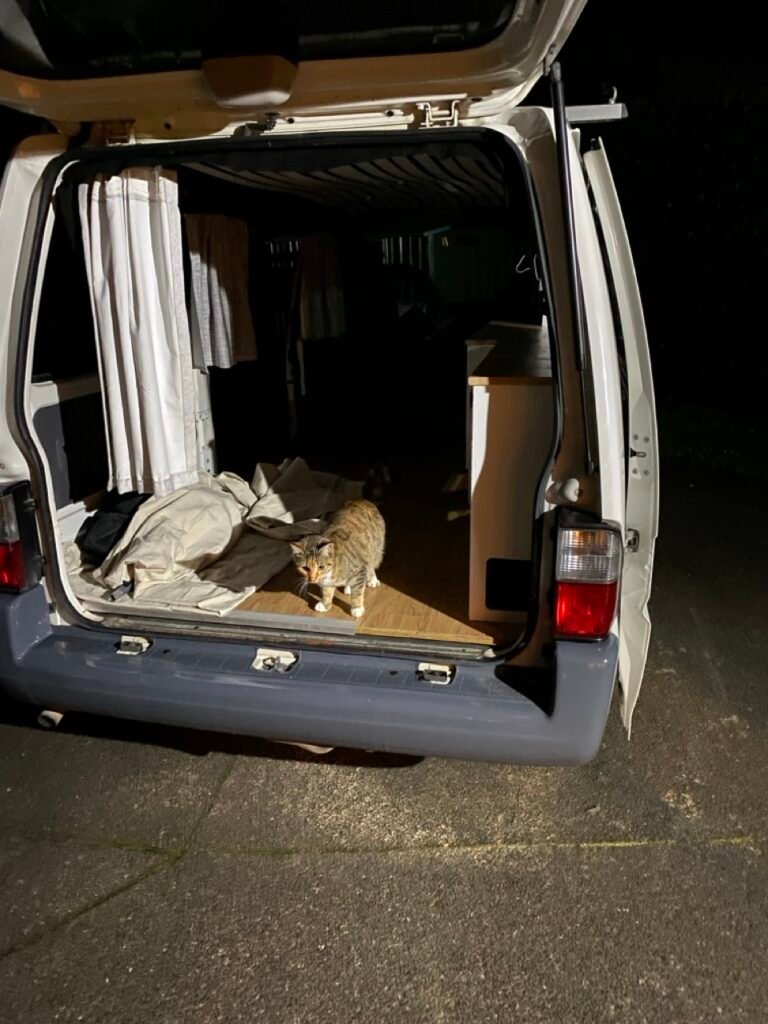
After all the planning and building, it was pretty exciting to finally take the van away for its first trip. We headed off for a long weekend and everything worked surprisingly well, except that we’d forgotten to pack tea towels to dry the dishes!
One of our favourite trips was a nine-night New Year’s roadtrip doing a lap of Northland. The van was awesome and it was great having everything we needed with us. We cooked in the sunshine, packed in everything we needed and woke up to some pretty incredible views along the way.
We used the Bongo for plenty of weekend adventures and a few longer road trips, but eventually decided we wanted something a little bigger. Ideally something where we could sit up in bed without bumping our heads on the roof!
That eventually led us to buying and renovating a caravan, which is another project I’ll share separately.
Looking back, the Bongo was a really fun project. It wasn’t the biggest or most luxurious campervan, but we built it ourselves, made the most of every bit of space and had some great adventures in it!